
Kettlebell for beginners is less about buying a cool-looking weight and more about learning a few non-negotiable movement rules, because the tool rewards good mechanics and punishes sloppy reps.
If you feel unsure about what weight to start with, how to hold the handle, or whether swings are “too advanced,” you are in the normal zone. Most new users don’t need more exercises, they need fewer exercises done better.
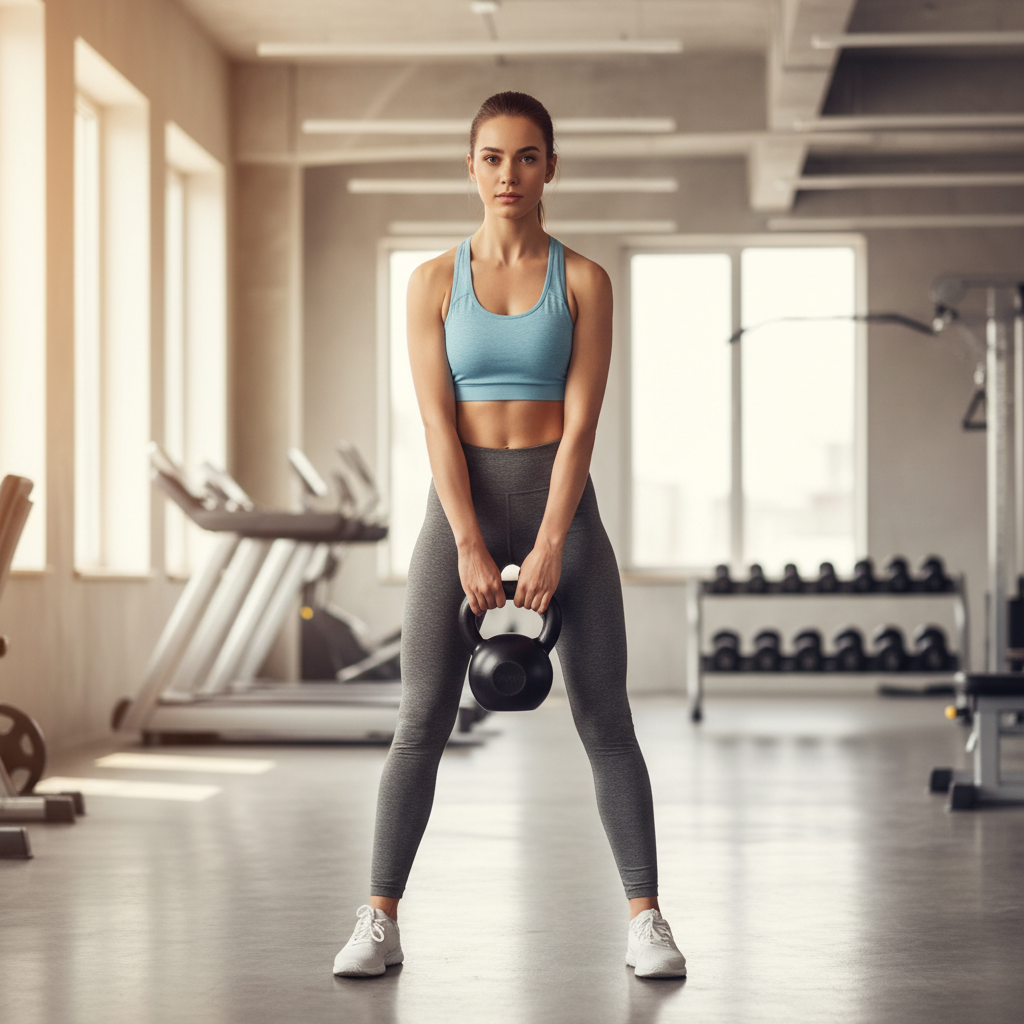
This guide walks through the basics you actually use: how to pick a kettlebell, what “hinge” means, which moves earn their place in your first month, and how to build a simple plan without guessing.
Safety note: if you have current back, shoulder, hip, or wrist pain, or you are post-surgery or pregnant, it may be smart to check with a qualified clinician or coach before starting.
What makes kettlebells different (and why beginners feel awkward)
A kettlebell’s weight sits below the handle, which changes the “center of mass.” That one detail explains why presses feel wobbly, why swings feel fast, and why your forearms complain during cleans.
Most beginner frustration comes from two places: trying to squat a swing (instead of hinging), and gripping like your life depends on it. Both waste energy and make form fall apart.
- Ballistic moves: swings and cleans create momentum, so timing matters more than brute strength.
- Offset loading: in racked or overhead positions, your core and shoulder stabilizers work harder.
- Short learning curve, long payoff: once hinge and rack feel natural, workouts get efficient fast.
Choosing your first kettlebell: weight, handle, and “don’t buy twice” tips
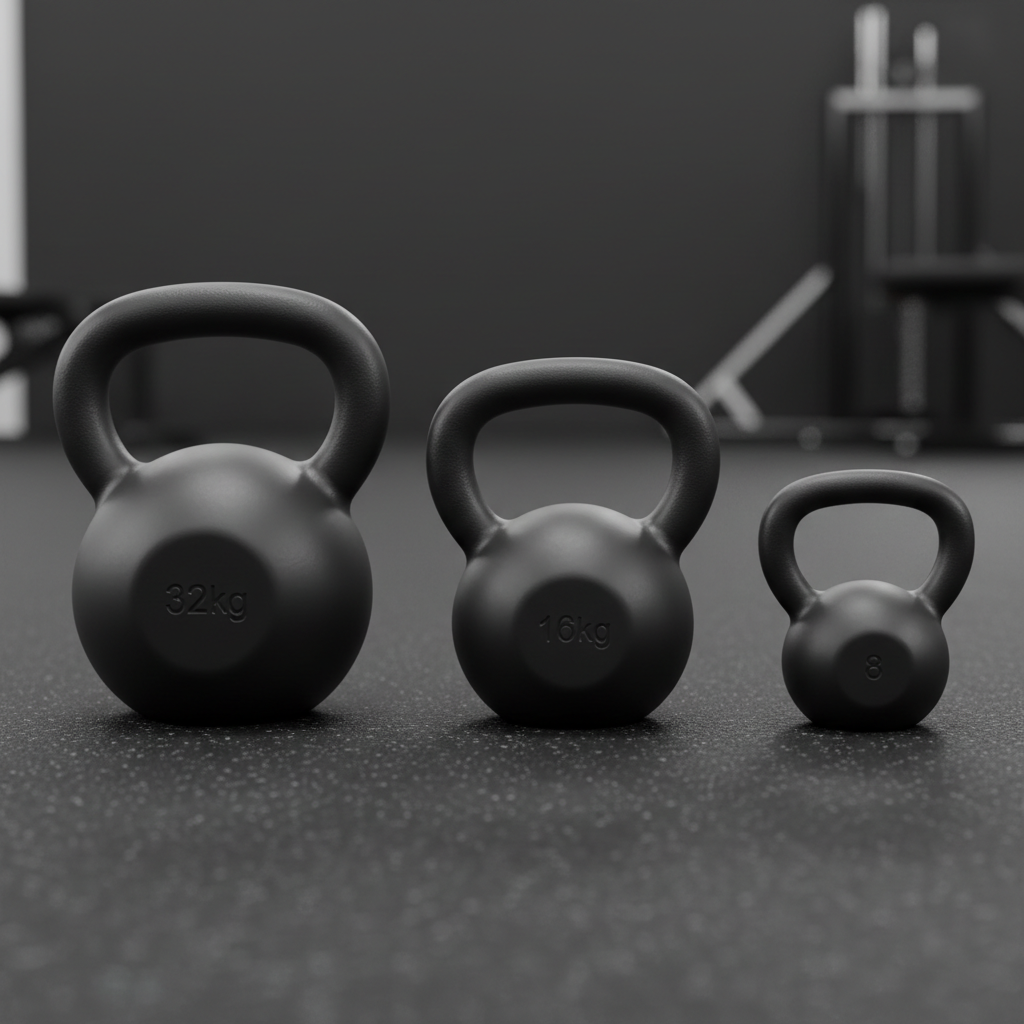
The “right” starting kettlebell depends on training history, body size, and what you plan to do. For many people, one bell that feels easy to deadlift but challenging to press becomes the sweet spot.
In the U.S., you’ll mostly see weights in pounds. Many coaches start women around 18–26 lb and men around 26–35 lb for general training, but that’s a rough range, not a rule. If you can’t keep your ribs down and wrist neutral during a strict press, you may need to go lighter.
Quick buying checklist
- Handle window: enough space for both hands on swings, and for a comfortable rack position.
- Handle finish: not sharp, not overly glossy. Some texture helps grip without tearing skin.
- Base: flat enough to stand without wobbling.
- Single vs adjustable: adjustable bells can save space and money if you train at home.
Starter weight targets (practical test)
- Deadlift test: 10 smooth reps with a neutral spine, no breath-holding panic.
- Goblet squat test: 8 reps with heels down and a steady torso.
- Overhead test (optional): 3–5 strict presses per side without wrist collapse.
If you pass the deadlift and goblet tests but fail the press test, that’s common. You can still train effectively by emphasizing hinges, squats, rows, and carries while building shoulder strength gradually.
The 5 movement skills that keep you safe and make progress faster
Before chasing “advanced” exercises, build these skills. They’re boring only until you notice your back feels better and your workouts stop feeling random.
- Brace: inhale low into the ribs and belly, then tighten like you expect a gentle punch.
- Hinge: hips go back, shins stay fairly vertical, spine stays neutral.
- Rack: bell rests on the forearm and upper arm, wrist neutral, elbow near the ribs.
- Overhead lockout: biceps near ear, ribs down, no leaning back to “cheat it up.”
- Grip control: firm but not death-grip, especially on swings and cleans.
According to the American Council on Exercise (ACE), maintaining proper form and progressing gradually are key to reducing injury risk during resistance training. That advice matters even more with kettlebells because speed amplifies mistakes.
Your first “real” exercises: what to learn in week 1–4
If you learn these well, you can train almost your whole body with a single kettlebell and a small floor space. This is where kettlebell for beginners stops being theory and turns into a usable toolkit.
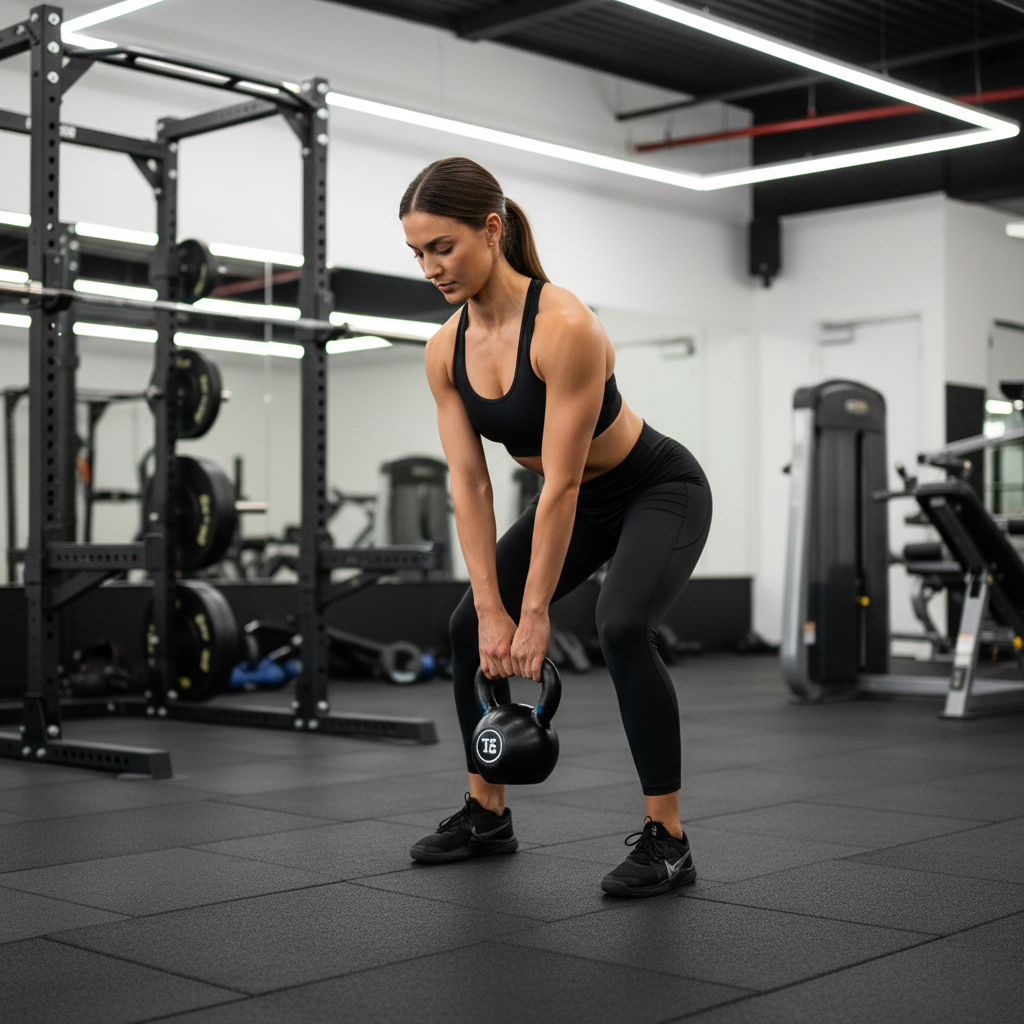
1) Kettlebell deadlift (hinge builder)
- Set the bell between your feet, handle in line with your ankles.
- Push hips back, grab the handle, pack shoulders down and back.
- Stand by driving the floor away, not by yanking with your arms.
2) Goblet squat (leg strength + posture)
- Hold the bell by the horns close to your chest.
- Descend between your hips, keep heels heavy.
- Use the bell as a counterbalance, not as a forward pull.
3) Two-hand swing (power + conditioning)
- Hike the bell back like a football snap, forearms touch inner thighs.
- Snap hips forward, squeeze glutes, let the bell float to chest height.
- Arms act like ropes, the hips do the work.
If swings irritate your lower back, it often means your hinge turns into a squat, or you are lifting with your shoulders. Dial back the weight and practice deadlifts and “hike passes” first.
4) One-arm row (back + grip)
- Support one hand on a bench or thigh, hinge to a stable torso angle.
- Row the bell toward your hip, pause, control the lower.
5) Farmer carry (core + posture under load)
- Stand tall, shoulders level, short quiet steps.
- Stop the set when you start leaning or shrugging.
Self-check: are you ready to add cleans, presses, and snatches?
New users often rush into cleans because they look cool. If you earn them, they feel smooth and don’t bruise your forearm. Use this quick checklist.
- Swing check: you can do 10 swings with the same back angle on every rep, no “squatty” drift.
- Rack check: you can hold a rack position for 20–30 seconds per side without wrist pain.
- Breathing check: you can brace, exhale on effort, and recover between sets.
- Control check: you can set the bell down quietly, not crash-land it.
If two or more items feel shaky, stay with deadlifts, goblet squats, rows, carries, and swings for another couple weeks. That patience pays off.
A simple 3-day beginner plan (and how to progress without guessing)
This template aims at consistency, not exhaustion. Many people do better with “leave 2 reps in the tank” effort early on, especially if they sit a lot or return after a long break.
Weekly structure
- Day A: Hinge + squat
- Day B: Swing + upper pull
- Day C: Mix + carry
Workout table (start here)
| Day | Exercise | Sets x Reps | Rest |
|---|---|---|---|
| A | Kettlebell deadlift | 3 x 8 | 60–90 sec |
| A | Goblet squat | 3 x 6–8 | 60–90 sec |
| B | Two-hand swing | 6 x 10 | 45–75 sec |
| B | One-arm row | 3 x 8/side | 45–75 sec |
| C | Goblet squat | 2 x 8 | 60 sec |
| C | Farmer carry | 5 x 30–60 sec | 60 sec |
Progression rules that usually work
- Add reps first: move from 3x6 to 3x8 before buying heavier weight.
- Add sets second: for swings, add 1–2 sets while keeping crisp reps.
- Add load last: go heavier only when form looks the same at the end of the workout as at the start.
If you train for fat loss, conditioning, or general fitness, consistency beats “killer” sessions. If you train for strength, longer rest and heavier bells may fit better, but technique still leads.
Common mistakes (the stuff that slows beginners down)
- Turning swings into front raises: shoulders burn, hips do little, and the bell travels too high.
- Over-squatting the hinge: knees push forward, back rounds, power disappears.
- Skipping warm-up: a few hinge drills and glute activation often improve the whole session.
- Chasing complex flows too soon: fun, yes, but many users build sloppy patterns fast.
- Ignoring hands: calluses are normal, rips are avoidable with better grip and reasonable volume.
According to the Centers for Disease Control and Prevention (CDC), adults benefit from muscle-strengthening activity at least two days per week. Kettlebells can cover that, but only if you can recover and repeat the training week after week.
When it’s worth getting a coach or medical input
Plenty of people learn from videos, but some situations deserve another set of eyes.
- Sharp pain or radiating symptoms: numbness, tingling, or pain that travels down an arm or leg should be checked by a qualified professional.
- Persistent joint irritation: wrist pain in rack, shoulder pinch overhead, or hip pain in squats that lasts beyond a few sessions.
- Form confusion on swings: if you cannot feel glutes and hamstrings doing the work, a coach can fix it quickly.
- Special populations: pregnancy, significant osteoporosis risk, or recent surgery usually benefit from individualized guidance.
A good coach won’t just cue you harder, they adjust stance, breathing, range of motion, and programming so the kettlebell matches your body and goals.
Key takeaways (keep these in your notes)
- Pick a bell you can hinge and squat with clean form, even if pressing needs lighter work.
- Own the hinge before you chase higher-skill moves.
- Progress by reps and control, not by “going heavier” every week.
- Kettlebell for beginners works best when sessions stay repeatable, not heroic.
Wrap-up: your next workout can be simple
If you only do one thing after reading this, make it the hinge. Practice deadlifts, then swings, and keep the bell moving because your hips generate power, not your arms.
Pick one kettlebell, run the 3-day plan for 3–4 weeks, and write down what feels stable versus sketchy. That small log turns “random workouts” into actual training.
FAQ
What weight kettlebell should a complete beginner start with?
Many beginners start with a weight that feels comfortable for deadlifts and goblet squats, while presses may require lighter work. If you cannot keep a neutral spine on hinges, go down in weight and rebuild.
Is a kettlebell swing safe for beginners?
It can be, but it depends on hinge skill and load selection. If swings cause back discomfort, step back to deadlifts and hinge drills, then reintroduce swings with fewer reps and more rest.
How many days per week should I train with kettlebells?
For most people, 2–4 days per week works well. Three short sessions often beat one long session because technique stays cleaner and recovery tends to be easier.
Do I need two kettlebells to get results?
No. One bell can cover hinges, squats, rows, carries, and presses. Two bells become useful later for heavier squats, presses, and double carries, but they are not a starting requirement.
Why do kettlebells hurt my forearms during cleans?
Usually the bell is “flopping” over the hand instead of rotating smoothly around it. Practicing a tight rack, using a relaxed grip at the right moment, and starting lighter often fixes it quickly.
Can kettlebells help with fat loss?
They can support fat loss by building muscle and improving conditioning, but results still depend heavily on overall calories, sleep, and consistency. If you are new, staying injury-free matters more than doing extreme volume.
What’s the difference between kettlebell training and dumbbells?
Dumbbells feel more balanced in the hand, while kettlebells place the load below the grip, which changes leverage and stability demands. That’s why kettlebells often feel “harder” at the same weight in certain positions.
If you are trying to build a beginner-friendly routine but keep second-guessing your form, consider booking a session with a certified kettlebell coach or getting a quick movement screen, it’s often the fastest way to make kettlebell for beginners feel clear and safe.