
how to use a bike tire repair kit is mostly about doing a few small steps correctly, so you don’t “fix” the flat and then watch it leak again two blocks later.
If you’ve ever patched a tube and still ended up walking home, you already know the pain: the hole wasn’t found, the surface wasn’t prepped, or the patch didn’t bond. The good news is that most bike flats are fixable on the roadside with basic tools, as long as you slow down for the parts that matter.
Below, you’ll get a practical approach that works for common road, gravel, and commuter setups. I’ll also flag the spots where people waste time, plus what to do if you’re using tubeless plugs instead of tube patches.
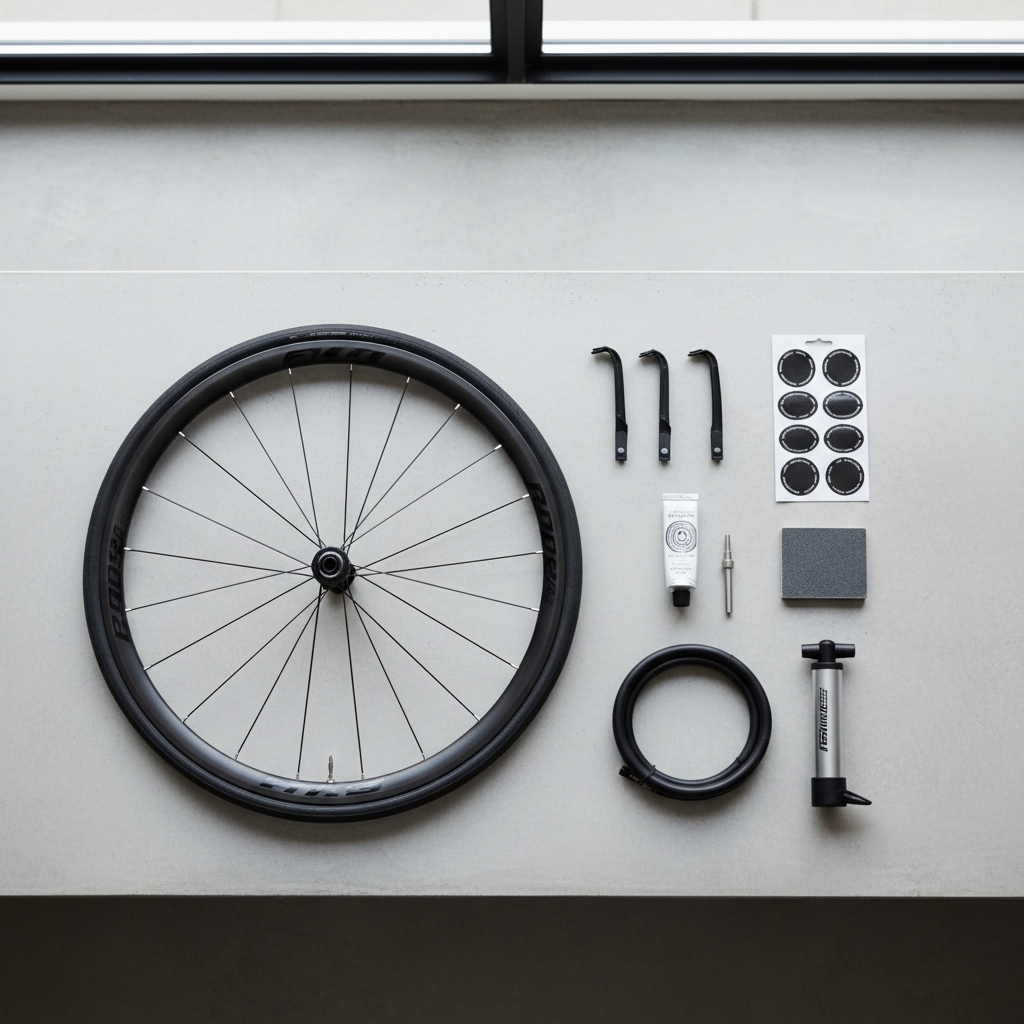
What’s in a typical bike tire repair kit (and what each item does)
“Repair kit” can mean a few different things in the U.S. Some kits focus on tubes and patches, others are for tubeless plugs. Knowing what you have keeps you from trying the wrong fix.
Tube patch kit essentials
- Patches: Either peel-and-stick or glue-on vulcanizing patches.
- Vulcanizing cement: Helps a patch bond to the tube, usually stronger than peel-and-stick in many real-world fixes.
- Sandpaper or metal scuffer: Roughens the tube so the cement and patch grip.
- Tire levers: Helps remove the tire bead without damaging the tube.
- Pump or CO2 inflator: Reinflates to riding pressure.
Tubeless repair kit essentials
- Plug strips (“bacon” strips) and an insertion tool: Seals punctures in the tire tread.
- Sealant: Often already in the tire, sometimes topped up.
- Valve core tool: Helps add sealant or clear a clogged core.
A quick comparison table
| Kit type | Best for | Common limitation |
|---|---|---|
| Tube patch + glue | Most punctured inner tubes | Needs dry, clean prep to bond well |
| Peel-and-stick patches | Quick roadside fixes | Can lift if tube is dirty or under-flexed areas |
| Tubeless plug kit | Tubeless tire tread punctures | Sidewall cuts may not seal reliably |
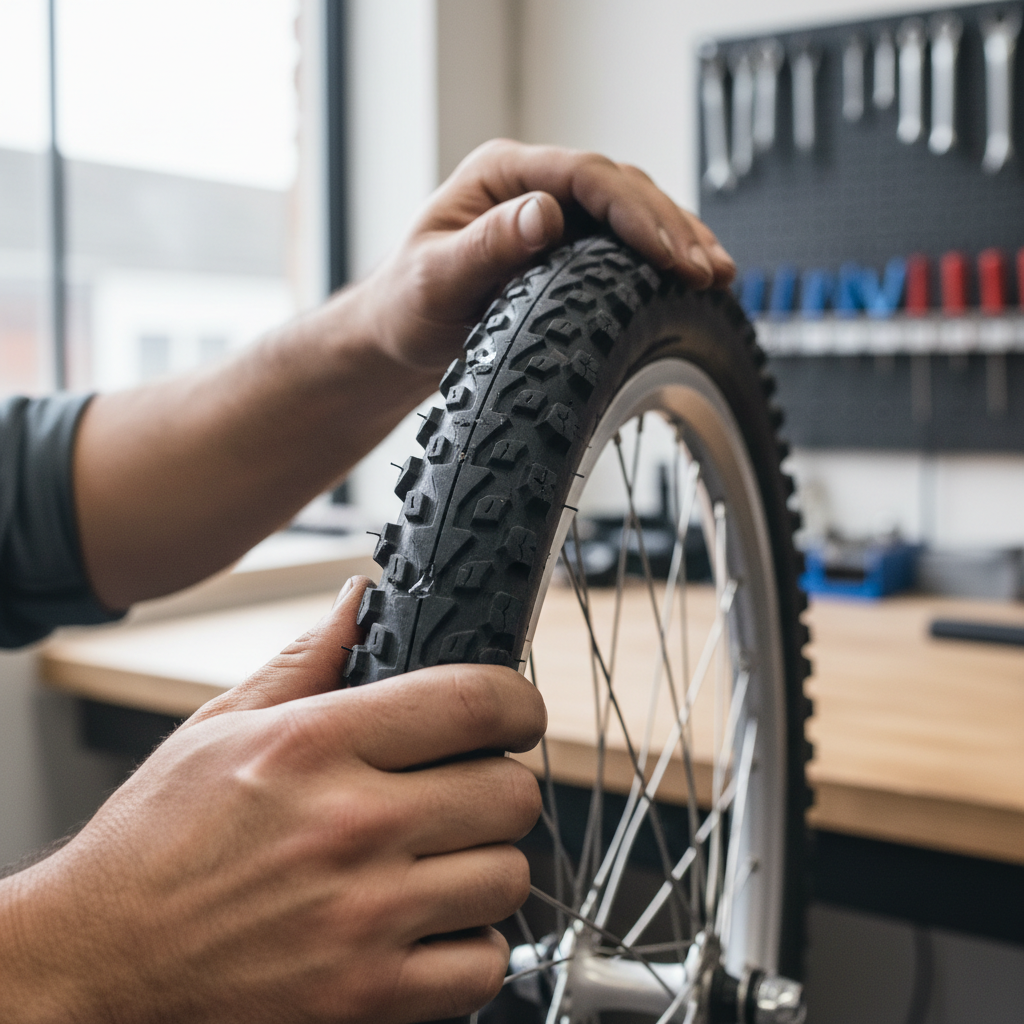
Before you patch: find the real cause of the flat
This is the step people rush, then pay for later. If the sharp object stays in the tire, you’ll puncture the tube again as soon as you inflate.
- Check the tire tread and sidewalls: Look for glass, wire, thorns, or a tiny cut that’s hard to see.
- Match the tube hole to the tire location: If you can, line up the valve with the tire logo, then you can “map” where the hole likely sits on the tire.
- Feel carefully inside the tire: Use slow fingertip sweeps, not a fast grab, so you don’t slice your finger on glass.
- Note the puncture pattern: Two small holes (“snake bite”) usually points to a pinch flat from low pressure or hitting a sharp edge.
According to NHTSA, maintaining proper tire inflation supports safer vehicle handling; the same basic principle applies to bikes in a simpler way: underinflation can make flats more likely, especially pinch flats.
Quick self-check: should you patch, replace the tube, or go tubeless-plug?
Not every flat deserves a patch. Sometimes the fastest “repair” is swapping in a spare tube, then patching at home where it’s clean and calm.
- Patch the tube if the hole is small, the tube isn’t torn, and you can prep the area properly.
- Replace the tube if there’s a long tear, a blown valve stem, multiple holes, or you’re in rain/mud where bonding is unreliable.
- Use a tubeless plug if you run tubeless and the puncture is in the tread and sealant alone won’t stop the leak.
- Stop and reassess if the tire bead is damaged, the rim tape looks compromised (tubeless), or the sidewall has a significant cut.
Step-by-step: how to use a bike tire repair kit (patching an inner tube)
how to use a bike tire repair kit with a tube patch comes down to three priorities: locate the leak, prep the surface, bond the patch. Everything else is just workflow.
1) Remove the wheel and tube without creating a new problem
- Shift to the smallest rear cog if you’re removing the rear wheel, it usually makes wheel removal less fussy.
- Deflate fully, then use tire levers to unseat one bead, pull the tube out.
- Leave the tire on the rim if possible, it speeds reassembly.
2) Find the hole (reliably)
- Inflate the tube slightly and listen for a hiss.
- If it’s subtle, wet your fingers or use a little water to spot bubbling.
- Mark the spot with a pen, or place the tube so you don’t lose it.
3) Prep the tube like you mean it
This is where most patches fail. A tube needs a dull, slightly rough surface so cement and patch can grip.
- Dry the area.
- Scuff a zone larger than the patch with sandpaper.
- Brush off rubber dust so it doesn’t interfere with bonding.
4) Apply cement and wait for tack
- Spread a thin, even layer of vulcanizing cement over the scuffed area.
- Wait until it’s tacky, not wet. In many conditions that’s a minute or two, but temperature and humidity change the feel.
5) Apply the patch with firm pressure
- Peel backing, center the patch over the hole, press hard from the middle outward.
- Hold pressure for 30–60 seconds, then keep the tube flat for another minute if you can.
- If the patch has a clear top film, follow the kit instructions; many can stay on until later.
6) Reinstall and inflate carefully
- Before you put the tube back, do a final tire sweep for debris.
- Put a little air in the tube so it holds shape, then tuck it in, seat the bead.
- Inflate slowly, checking that the tube isn’t pinched between rim and tire.
Key point: If the patch edges look lifted before you ride, don’t “hope it holds.” Swap in a spare tube or redo the prep.
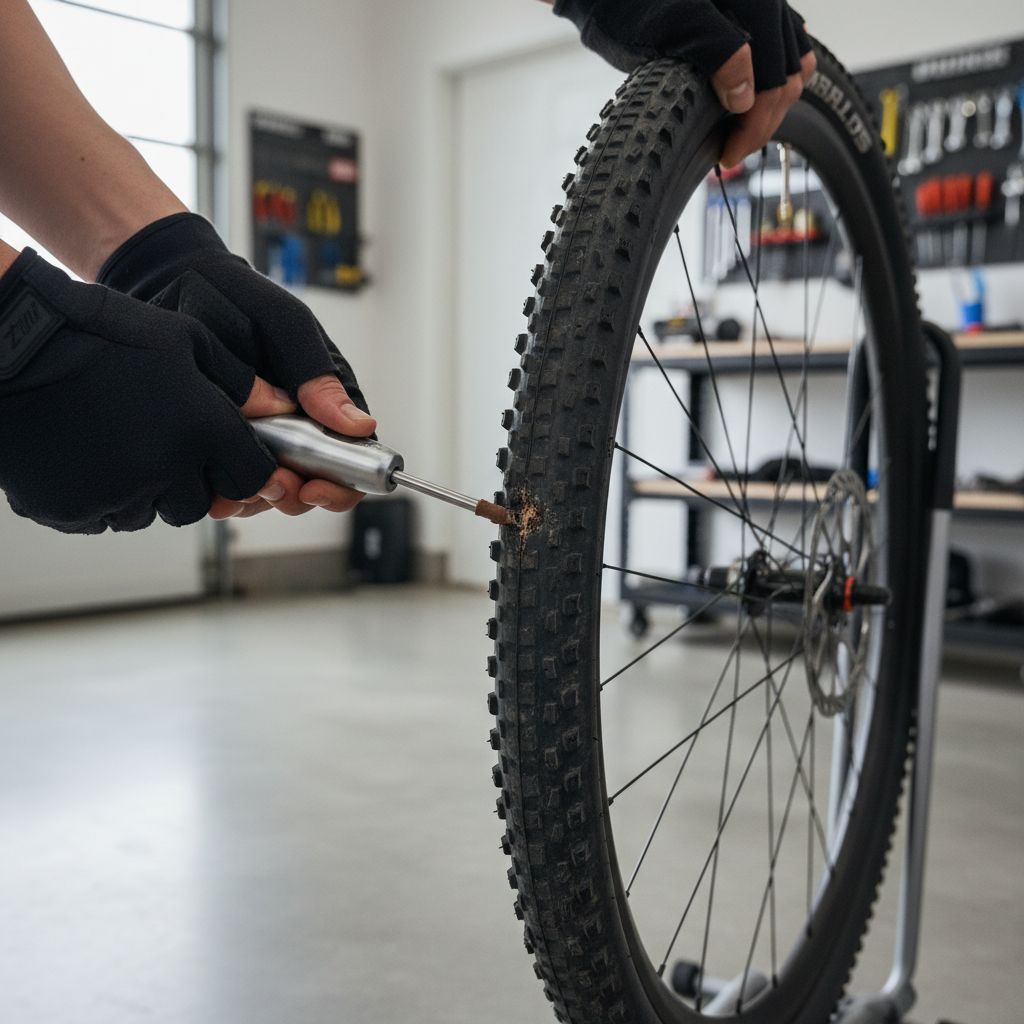
If you have a tubeless kit: plug a puncture the right way
Tubeless repairs feel almost too easy when they work, then frustrating when they don’t. The trick is choosing plug size and not over-handling the hole.
- Locate the puncture and rotate it to the bottom so sealant pools there.
- Insert the plug straight into the puncture using the tool, leave a small tail.
- Reinflate with a pump or CO2. Spin the wheel to distribute sealant.
- Trim the tail only if it’s clearly rubbing the frame or brakes.
Sidewall damage is where tubeless can get tricky. Many riders can limp home with a boot and a tube, but for big cuts, a shop assessment is often the smarter call.
Common mistakes that cause repeat flats (and what to do instead)
A lot of “bad luck” flats are actually the same avoidable errors repeating.
- Skipping the inside-tire check: You patch the tube, but the glass stays, so it pops again. Always sweep the inside.
- Not waiting for tack: Cement needs time to get tacky. Wet glue often leads to a patch that slides or never bonds.
- Scuffing too little: A tiny scuff spot gives the patch nowhere to hold when the tube flexes.
- Pinching the tube during reinstall: Inflate slowly and inspect the bead line all the way around.
- Riding with low pressure: Especially with narrower tires, underinflation often invites pinch flats and rim strikes.
Practical “carry kit” recommendations for U.S. riders
You don’t need a rolling workshop, but you do want enough redundancy to avoid getting stranded.
Minimum kit for tube setups
- 1 spare tube (correct valve type and length)
- Patch kit (glue + patches) for backup
- 2 tire levers
- Mini pump or CO2 plus at least one backup cartridge
Minimum kit for tubeless setups
- Tubeless plug kit
- CO2 or pump
- Valve core tool
- A lightweight tube as a last resort
When to get professional help (or replace parts)
Most flats are DIY-friendly, but some signs suggest a deeper issue where guessing wastes time and money.
- Repeated flats in the same wheel: Could be rim tape problems, a burr on the rim, or a hidden casing issue.
- Sidewall cuts or bulges: Often points to tire damage; riding may be unsafe, especially at higher pressure.
- Rim damage after an impact: A dented rim can keep pinching tubes or prevent tubeless sealing.
- Uncertain brake/axle setup: If you’re not confident removing/installing the wheel on disc brakes or thru-axles, a shop can prevent costly mistakes.
According to PeopleForBikes, regular maintenance and safe equipment help support better riding experiences; if a flat repair keeps failing for unclear reasons, a quick shop inspection can be a practical safety step.
Conclusion: a reliable flat fix is mostly prep and patience
Once you learn how to use a bike tire repair kit without rushing the prep, flats stop feeling like a trip-ending disaster and start feeling like a short pit stop. Do the debris check, scuff generously, wait for tack, then inflate slowly and inspect before you roll.
If you want one action to take today, stock your kit with a spare tube plus a patch kit, then practice the patch process at home once, the first time shouldn’t be on a dark roadside.