
how to choose bike lights for safety comes down to one goal: be seen early and see the road clearly, without blinding other people or trusting marketing numbers that don’t match real streets.
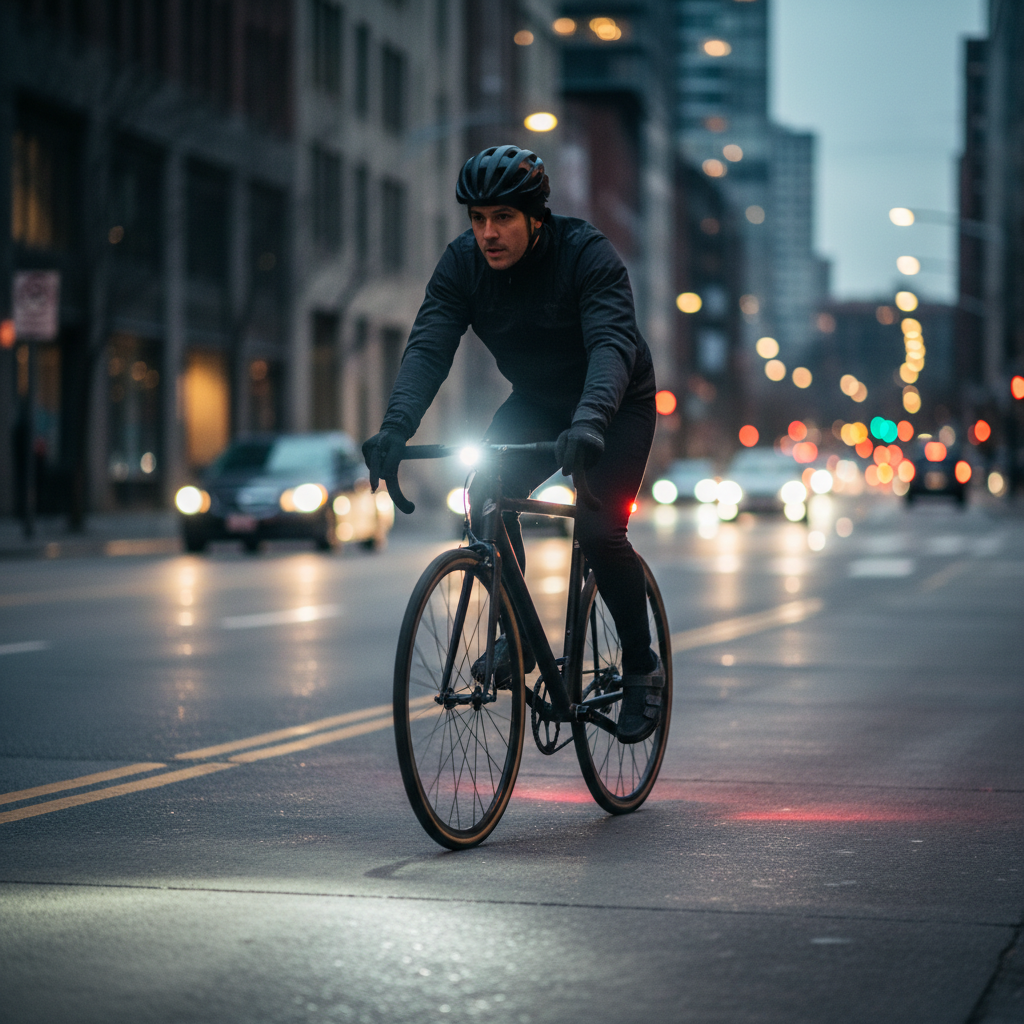
If you ride in the U.S., you’ve probably noticed how unpredictable conditions get, dusk comes fast, drivers glance at phones, and even “lit” bike lanes can hide potholes and debris. A decent light setup is less about looking like a cyclist and more about reducing surprise for everyone around you.
People also mix up “bright enough” with “safe enough.” The brightest light on the shelf may still have the wrong beam shape, a weak mount, or a battery that dies on the way home. This guide helps you pick lights that match where you actually ride: city streets, bike paths, or dark rural roads.
Start with what the law expects (and what drivers actually notice)
Before specs, check what your state or city requires. Many U.S. jurisdictions expect a white front light and a red rear light at night, sometimes with specific visibility distance rules. According to NHTSA (National Highway Traffic Safety Administration), being visible and predictable is a key part of reducing roadway risk, and lighting plays directly into that.
In practice, drivers notice motion + contrast. That’s why a steady beam to help you see, paired with a rear light that’s hard to miss, often works better than relying on one ultra-bright front light alone.
- Front (white): helps you see and signals your position.
- Rear (red): helps others judge distance and closing speed.
- Side visibility: often overlooked, but critical at intersections and driveways.
Brightness isn’t everything: lumens, candela, and beam pattern
Most boxes shout lumens, but for how to choose bike lights for safety, the beam pattern matters just as much. Lumens are total light output; they don’t tell you whether the light lands where you need it.
Two terms help you avoid bad buys:
- Lumens: total light coming out of the lamp.
- Candela (or “lux at distance”): how intense that light is in a direction, which affects how far you can actually see.
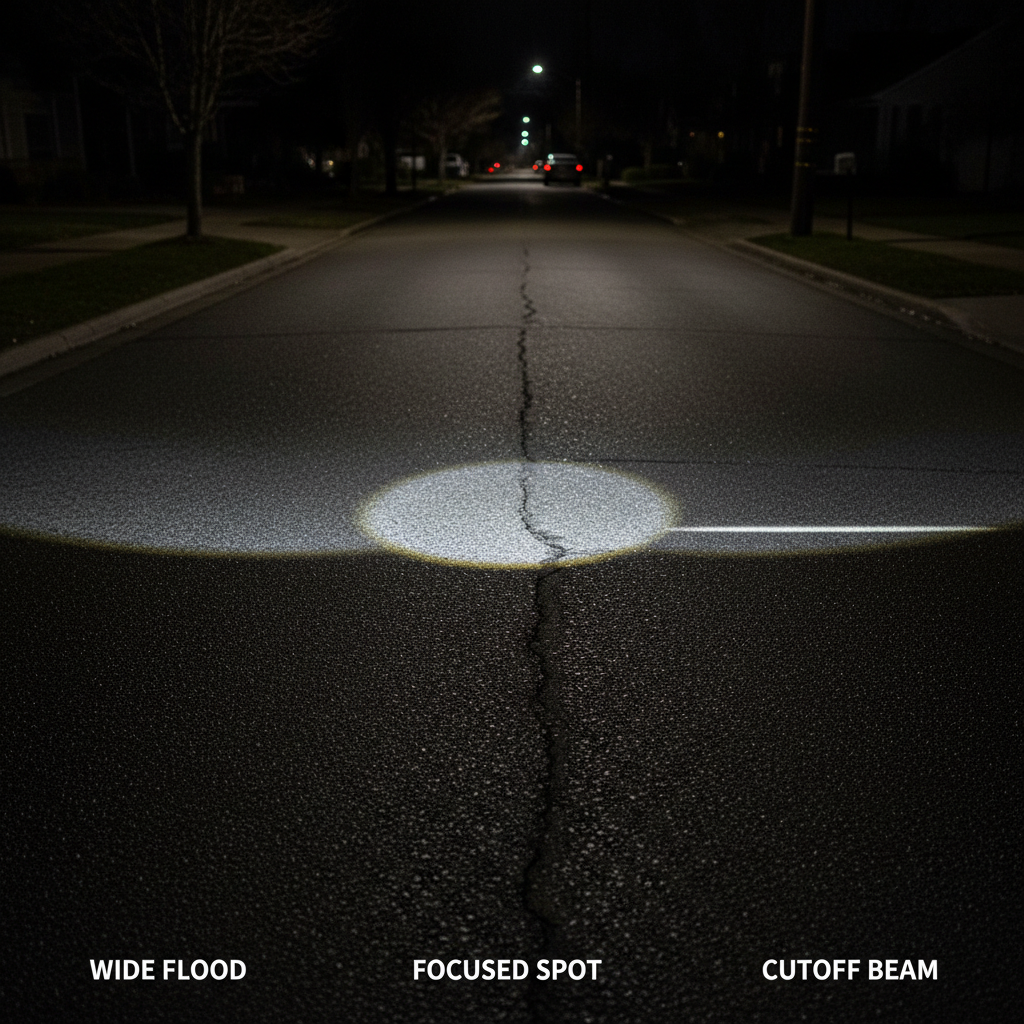
A wide, even beam helps you read pavement and spot hazards without creating a “hot spot” that blinds oncoming riders. Some commuter-oriented lights use a cutoff beam (like a car headlight), aiming light on the road and reducing glare.
Quick rule of thumb for typical conditions (real needs vary by speed, eyesight, weather, and local lighting):
- Well-lit city streets: moderate front output with a clean beam, strong rear visibility.
- Unlit paths / suburbs: higher front output to read the surface earlier.
- Rural roads: more distance-focused beam plus side visibility, because shoulder hazards show up late.
Choose modes you’ll actually use: steady vs flash (and when each makes sense)
Mode choice affects both safety and battery. For many riders, the best setup is a steady front beam so you can track surface changes, with a rear light that adds attention-grabbing contrast.
Flashing can help you stand out in traffic, but it may make it harder for others to judge your distance, especially at higher speeds or in darker areas. Some lights offer a “pulse” mode that keeps a steady base with a gentle modulation, that’s often a good compromise.
- Use steady on dark paths where you need to see detail.
- Use flash/pulse in daytime or dense traffic where “being noticed” is the bigger problem.
- Avoid high-intensity flash aimed at eye level on shared paths, it can irritate and reduce safety for others.
Battery, runtime, and charging: where people get burned
Runtime claims are usually tied to a specific mode. If you run max brightness, your “2-hour light” might become a “50-minute light,” and that’s where rides get sketchy.
When you compare options, look for:
- Runtime by mode (not just one headline number).
- Battery indicator you can read while riding.
- USB-C charging for convenience, especially if you already carry a USB-C cable.
- Replaceable vs integrated batteries: integrated is simpler; replaceable can be better for long-term ownership.
If you commute, a practical habit is charging on a schedule rather than “when it looks dim.” Many lights dim gradually, so you might not notice until the output becomes marginal.
Mounting and aiming: the small detail that decides whether it works
A strong light on a weak mount is basically a strobe pointed at the sky. This is the most common failure point, especially on rough pavement or gravel.
Check these before buying:
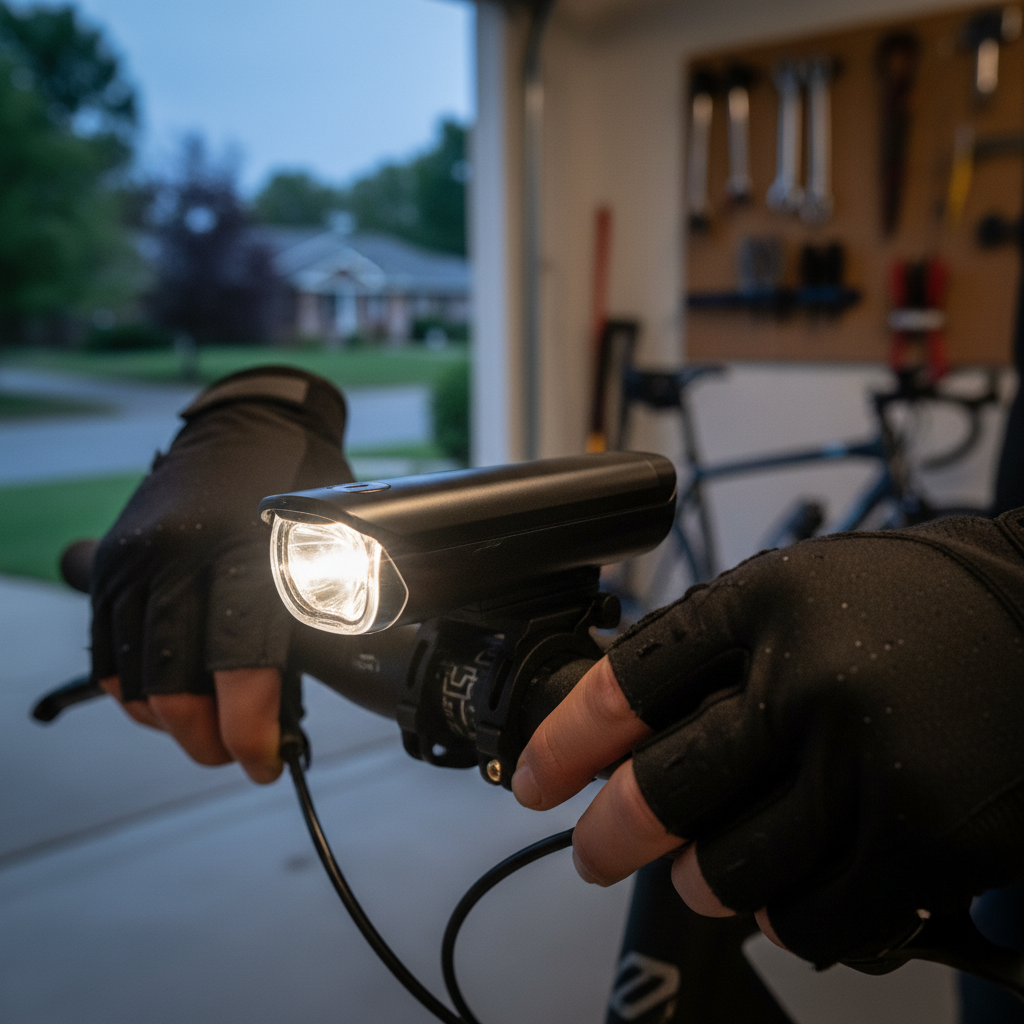
- Mount stability: no twisting when you push the light with your thumb.
- Tool-free removal: helpful for theft-prone areas.
- Helmet vs handlebar: handlebar lights illuminate where the bike points; helmet lights illuminate where you look, but can create glare for others if mis-aimed.
Aiming tip: point the front light slightly downward so the brightest part hits the road ahead, not people’s eyes. If you’re unsure, test it facing a wall, then take a short ride on a shared path and adjust.
Pick a setup that matches your riding scenario (table)
If you’re stuck, map your riding to a simple setup. This is where how to choose bike lights for safety becomes less abstract and more “what should I buy for my route.”
| Riding scenario | Front light focus | Rear light focus | Extra considerations |
|---|---|---|---|
| City commute, streetlights | Even beam, moderate output, glare control | Wide-angle visibility, attention mode | Fast mounts, theft removal, rain resistance |
| Bike paths at night | Steady mode, wider beam to read pavement | Steady or gentle pulse, not harsh flash | Be considerate to pedestrians and other cyclists |
| Suburb roads, mixed lighting | More reach, solid side spill | Strong brightness, good optics | Reflective gear adds side detection |
| Rural, no streetlights | High output + distance, long runtime | High visibility + backup plan | Consider a second front light or spare battery |
A quick self-checklist before you buy (or before tonight’s ride)
Use this to sanity-check your current setup. If you hit two or more “no” answers, upgrading usually makes sense.
- Can you see surface detail 2–3 seconds ahead at your normal speed?
- Does your rear light stay visible from an angle, not just straight behind?
- Does the mount stay aimed after potholes or curb cuts?
- Do you know your real runtime in the mode you use most?
- Do you have a backup plan if a battery dies, even a small spare rear light?
Key takeaway: the “best” light is the one that fits your route, stays aimed, and runs long enough to get you home without stress.
Common mistakes that quietly reduce safety
- Buying only a front light: many close calls happen from behind.
- Over-aiming up: you feel bright, but you’re really just creating glare.
- Trusting max mode: great for short bursts, weak as an all-ride plan.
- Ignoring weather sealing: a light that flickers in rain is worse than you think.
- No side visibility: intersections are where “seen from the side” matters most.
According to AAA (American Automobile Association), visibility and driver awareness are recurring themes in roadway safety guidance, and cyclists benefit when their presence is obvious and predictable. Lights are part of that, but so are positioning, reflectivity, and riding behavior.
When it’s worth getting help or upgrading beyond basics
If you ride fast on dark roads, have vision concerns, or regularly share narrow lanes with high-speed traffic, it can be smart to talk with a local bike shop about beam cutoff options, mounting solutions for your handlebar shape, and redundant power. This is especially true if you’ve had near-misses and can’t tell whether the issue is brightness, glare, or placement.
For anyone with medical or vision conditions that affect night riding, it’s reasonable to ask a healthcare professional for guidance, since safety needs can vary a lot by person.
Conclusion: build a “seen + see” system, not a single gadget
Once you treat lighting as a system, decisions get easier: a front light with a usable beam, a rear light that stays visible off-angle, mounts that don’t wander, and runtime you can trust. If you want one action today, test your aim against a wall and confirm real battery life on your usual mode, those two steps catch most problems before they show up on the road.
If you’re shopping this week, bring your route reality to the spec sheet, and you’ll end up with lights that feel boring in the best way: they just work when you need them.