
Kettlebell home training works best when the bell fits your space, your grip, and your current strength, not just what looks “pro” on a product page.
A lot of people buy the wrong kettlebell for home workouts for two simple reasons, they underestimate comfort and they overestimate how heavy they should start. The result is a handle that tears up hands, a base that wobbles on the floor, and a weight that turns every session into a grind.
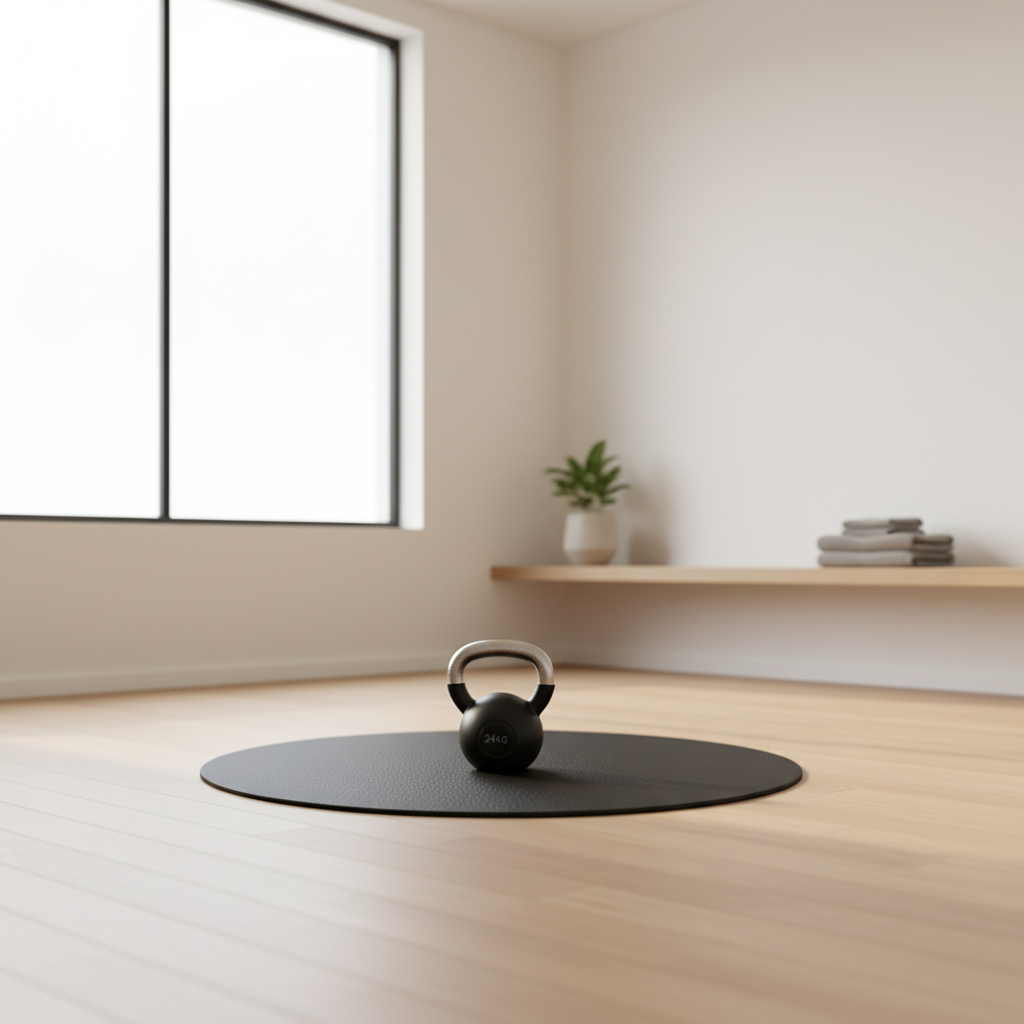
This guide narrows it down to what actually matters: the type of bell to buy, what “good handle geometry” feels like, suggested weights for different goals, and a quick plan to start using it without tweaking your back or wrists. I’ll also call out common marketing traps, because yes, they’re everywhere.
What makes a kettlebell “home-friendly” (and what usually doesn’t)
At home, your kettlebell needs to behave on imperfect surfaces, survive being set down a thousand times, and feel stable during high-rep moves. A great gym bell can still be annoying in an apartment.
- Handle comfort beats looks: you want a smooth, lightly textured handle that won’t shred your palms. Ultra-aggressive knurling often backfires for higher-rep swings and snatches.
- Consistent handle window: the “window” is the space your hand fits through. If it’s cramped, you’ll fight wrist banging on cleans and presses.
- Stable base: a flat, well-machined bottom matters for goblet squats, rows, and safe parking after swings.
- Reasonable footprint: kettlebells are compact, but some shapes feel bulky between the legs during swings, especially for shorter athletes.
What tends to disappoint at home: super-light vinyl bells that feel toy-like for technique work, and odd “hybrid” designs with unstable bases. They can be fine in niche cases, but they’re rarely the best first buy.
Types of kettlebells you’ll see online (and which to choose)
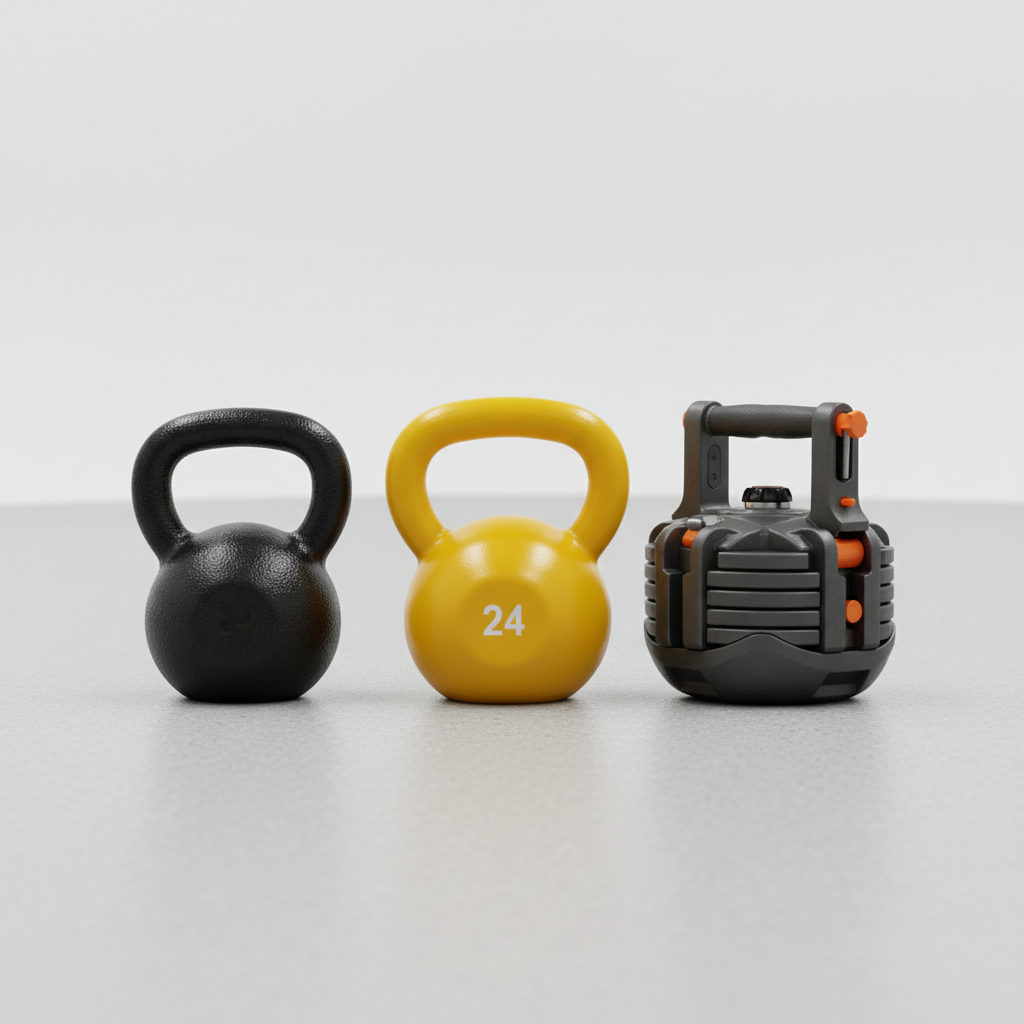
There are three main buckets, and the best pick depends on your budget and whether you want one bell or a small set.
Cast iron kettlebells
This is the classic “ball with a handle.” Most home users do well here because cast iron bells are widely available, durable, and usually cost less than competition styles.
- Best for: general strength, conditioning, basics like swings, goblet squats, rows, presses.
- Watch for: inconsistent handle thickness between sizes, rough seams, sloppy paint on the handle.
Competition kettlebells (steel)
Competition bells keep the same outer size as weight increases, which many people find more consistent for technique work like cleans and snatches.
- Best for: people practicing kettlebell sport style lifting, or anyone who wants a consistent feel across multiple weights.
- Watch for: higher price, and sometimes a slick handle finish that needs chalk.
Adjustable kettlebells
If you want kettlebell home training with limited storage, adjustable bells can be a smart “one tool, many loads” solution, with a catch: fast weight changes matter more than you think.
- Best for: small apartments, couples sharing one bell, progressive overload without buying a rack of iron.
- Watch for: rattling plates, slow change mechanisms, and designs that shift the center of mass in a way that feels odd for swings.
Quick buying checklist (the stuff worth measuring)
If you can’t try a kettlebell in person, use this checklist to reduce regret. Product photos rarely show the details that affect comfort.
- Handle finish: look for “smooth” or “e-coated” handles, and beware thick glossy paint on the handle.
- Handle thickness: many people prefer a medium thickness for one-hand swings and snatches, very thick handles fatigue grip early.
- Seam quality: avoid sharp seams around the handle horns and underside.
- Flat base: descriptions that mention “machined flat base” are usually a good sign.
- Coating durability: chips are mostly cosmetic, but flaking around the handle becomes a comfort issue.
- Return policy: if the handle is rough, you’ll want an easy return.
Small reality check, even good brands ship occasional duds. Don’t feel bad returning a bell that arrives with a sharp edge, your hands will pay for it later.
What weight should you start with for kettlebell home training?
This is where many home buyers overshoot. You’re not just lifting, you’re moving the bell fast, repeatedly, and often for time.
According to NSCA (National Strength and Conditioning Association), proper technique and appropriate loading are key parts of resistance training safety and progression. In plain terms, start lighter than your ego wants, then add weight once reps look clean and feel controlled.
Practical starting ranges (common scenarios)
These ranges are intentionally conservative. If you have past lifting experience, you might move up faster, but form still rules.
| Goal / Starting point | Typical starting kettlebell | Notes for home workouts |
|---|---|---|
| New to kettlebells, want fat-loss + conditioning | 8–12 kg (18–26 lb) | Prioritize swing mechanics, breathing, and grip comfort. |
| Some gym experience, want strength basics | 12–16 kg (26–35 lb) | Great for goblet squats, rows, presses if shoulder mobility allows. |
| Stronger lifter, wants heavier swings/hinges | 16–24 kg (35–53 lb) | Only if you already hinge well, heavy swings punish sloppy backs. |
| Two-bell training (double front squat, presses) | Pair of 12–16 kg | Space and floor protection matter, use mats if needed. |
If you can buy only one bell, many people do well with “one light-ish, one medium” rather than jumping straight to heavy. That combo keeps kettlebell home training flexible, swings with the medium, presses and Turkish get-ups with the lighter bell.
Recommended picks by home scenario (not one-size-fits-all)
I’m not going to pretend there’s a single “best kettlebell” for everyone. What works depends on space, goals, and how much you care about fast weight changes.
- Best all-around for most homes: a quality cast iron bell with a smooth handle and flat base. It’s the simplest tool, and simple tends to get used.
- Best for small spaces: an adjustable kettlebell if you’ll actually change weights week to week. If adjusting feels like a chore, you’ll stop doing it.
- Best for technique-focused lifters: competition style if you plan to build a set over time and want consistent size/feel.
- Best “starter set” approach: two cast iron bells, one lighter for presses/get-ups, one heavier for swings/squats.
Key point: pay extra attention to handle finish and return policy, because those two factors decide whether the kettlebell becomes a weekly habit or a closet resident.
Simple 20-minute home plan (3 days/week) to get value fast
This is a straightforward on-ramp. It avoids advanced moves until your hinge and rack position feel stable. If you have pain, dizziness, or a prior injury, it’s smart to consult a qualified fitness professional.
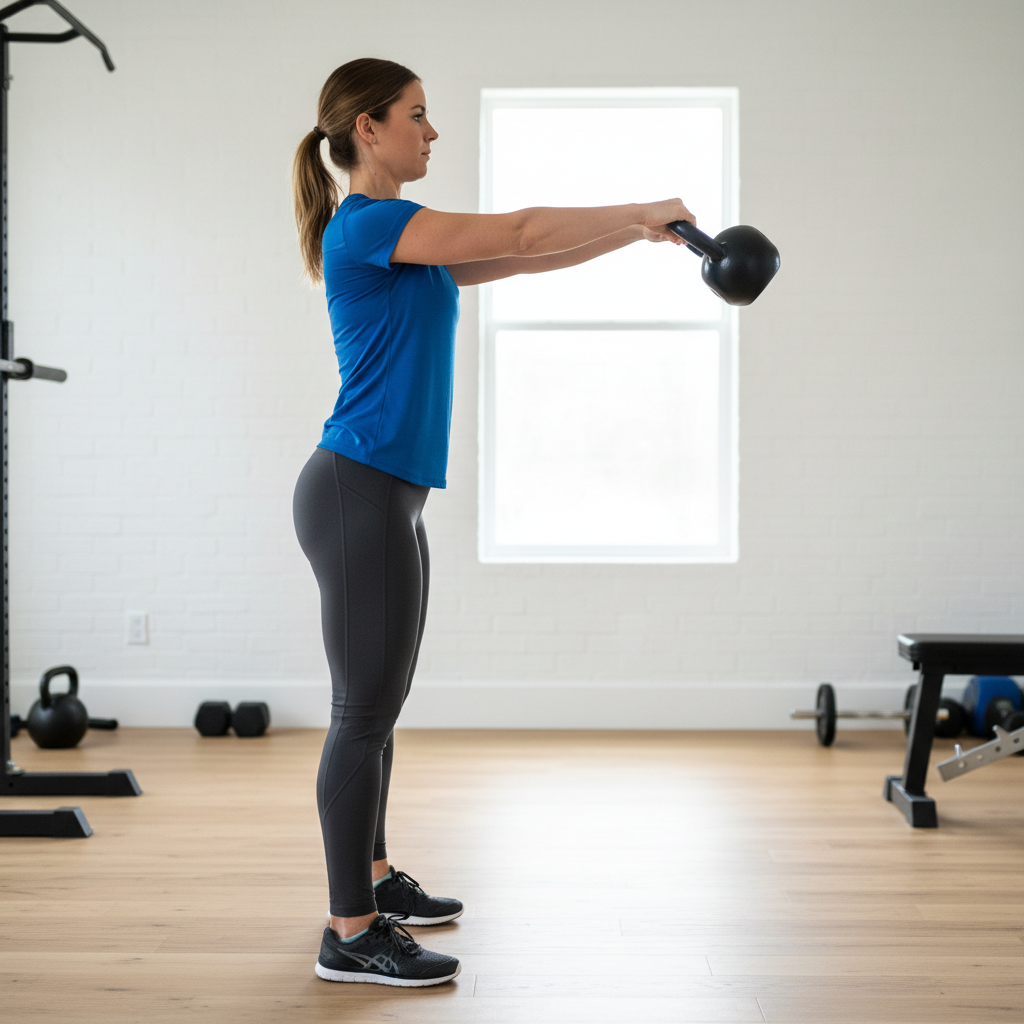
Session A (20 minutes)
- Warm-up, 3 minutes: hip hinges without weight, glute bridges, light halos
- Swings, 10 minutes: 10 reps on the minute, focus on crisp hip snap
- Goblet squat, 3 sets of 8–10
- Suitcase carry, 3 x 30–45 seconds per side
Session B (20 minutes)
- Warm-up, 3 minutes: arm bars, bodyweight squats, dead bugs
- One-arm row, 3 sets of 10 per side
- Overhead press, 3 sets of 5–8 per side
- Deadlift (kettlebell), 3 sets of 8–12 with slow control
Alternate A and B three days per week. When you can complete all sets with solid form and normal breathing within a day, add a little volume or move up in weight. Many people progress faster by improving technique than by chasing heavier numbers.
Common mistakes that waste money or cause aches
- Buying heavy first: heavy swings with a weak hinge often create back tightness. Start manageable, earn heavier loads.
- Ignoring floor and neighbors: set the bell down on a mat, and don’t drop it. Your floors and downstairs neighbor will appreciate it.
- Training only swings: swings are great, but rows, squats, and carries keep shoulders and hips happier.
- White-knuckle grip: death-gripping kills endurance. A relaxed, efficient grip helps more than chalk in many cases.
- Assuming pain is “normal”: muscle fatigue is normal, sharp pain in back, shoulder, or wrist is a stop sign.
According to CDC, strength training can support overall health when done safely and consistently. That “safely” part is the unsexy detail that keeps kettlebell home training sustainable.
Key takeaways and what to do next
If you want a home setup you’ll actually use, choose comfort and consistency over flashy features, then build a simple rotation you can repeat without negotiating with yourself every session.
Action steps that work for most people: buy one solid cast iron bell in a conservative weight range, add a mat, then follow the 20-minute plan for two weeks before you decide you “need” a second bell. That short runway tells you a lot about what weight and handle style you prefer.
FAQ
What is the best kettlebell for beginners doing home workouts?
A well-made cast iron kettlebell with a smooth handle and flat base usually works well for beginners. It keeps the learning curve small and supports the main movements you’ll repeat most.
Is an adjustable kettlebell worth it for kettlebell home training?
It can be, especially if storage is tight and you plan to progress weights. If changing plates feels slow or annoying, many people end up leaving it at one setting, which defeats the point.
How heavy should my kettlebell be for swings at home?
Many people start swings lighter than expected, then build up once the hinge feels automatic and the bell floats from hip power, not arms. If your back takes over, the bell is often too heavy or the pattern needs coaching.
Do I need two kettlebells or is one enough?
One can cover a lot, swings, squats, presses, rows, carries. Two becomes useful when you want heavier lower-body work and still need a lighter bell for presses or get-ups, or when you want double-kettlebell movements.
What should I put under a kettlebell to protect my floor?
A rubber gym mat or a dense foam tile works in many homes. The goal is a stable surface that reduces noise and protects hardwood or tile when you set the bell down.
Are kettlebell workouts safe for older adults?
Often yes, but it depends on balance, mobility, and medical history. A lighter bell, slower tempo, and coaching on hinge and breathing can make a big difference, and it’s reasonable to check with a clinician or qualified trainer if you have concerns.
Why does my wrist hurt during cleans?
Usually the bell is “flopping” over the hand instead of rolling around the forearm. Technique tweaks and a handle window that fits your hand often help, but persistent pain is a reason to stop and get guidance.
If you’re trying to make kettlebell home training stick and you’d rather not guess, a short equipment check plus a simple progression plan can save time and prevent the classic cycle of buying, stalling, and restarting.