
How to adjust a bike mirror for visibility usually comes down to two things: putting the mirror in the right physical spot on the bike, then dialing the angle so you see what matters (traffic behind you) without losing control or constantly re-checking it.
Most riders tweak the mirror once in the driveway, then wonder why it feels useless on the road, the image shakes, or they only see their elbow. That’s normal, mirrors are sensitive to posture, bar position, and even glove thickness on your grip.
This guide keeps it practical: a quick setup sequence, a couple of “sanity checks” to confirm you’re actually covering your blind spot, and fixes for common problems like vibration, glare, and slipping mounts.
Start with the basics: mirror type and where it should sit
Before you touch the angle, confirm what style of mirror you’re working with, because “correct” placement changes by design.
- Handlebar-end mirror: sits at the bar end, usually gives the widest view and less “arm blocking,” but can stick out and bump things.
- Handlebar clamp mirror: mounts near the grip, easier to fit with accessories, sometimes shows more of your shoulder.
- Helmet mirror: follows head movement, great coverage when used well, but takes adaptation and can feel twitchy at first.
In many cases, the most stable setup is a bar-end mirror tightened properly on a clean, dry bar end, with the mirror head not fully extended unless you need the extra width.
One-minute pre-check (it saves you from chasing the wrong problem)
When riders can’t get visibility, the issue is often mechanical, not “angle.” Run this quick check before fine-tuning.
- Mount security: no rotation when you push the mirror lightly with your thumb.
- Bar/grip clearance: cables, lights, phone mounts don’t block the mirror’s movement.
- Riding posture match: adjust while seated in your normal position, hands where they live on real rides.
- Clean lens: smudges mimic blur and reduce contrast at dusk.
According to NHTSA, being aware of surrounding traffic is a core part of safe road use, and for cyclists that awareness often comes from a mix of looking back and using a mirror as a supplement, not a replacement.
How to adjust a bike mirror for visibility: the angle sequence that works
If you only remember one thing, remember this: set the mirror to show a thin slice of you (for reference) and a wide slice of the lane behind (for information). Too much “you” wastes mirror real estate.
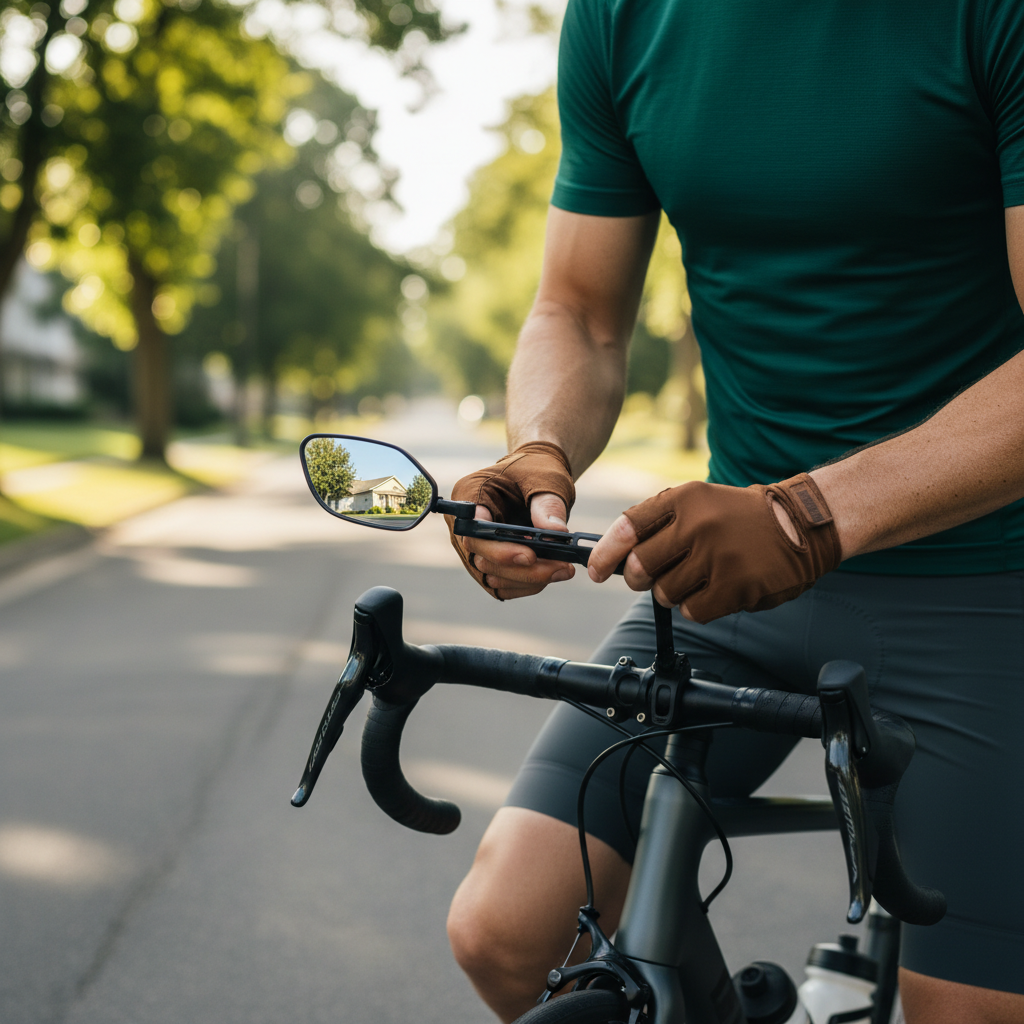
Step 1: Sit and lock your normal hand position
Get on the bike, put your hands where you naturally ride, and keep your shoulders relaxed. If you adjust while standing over the bike, your real posture won’t match and the mirror ends up lying.
Step 2: Set horizontal aim for the lane, not the curb
Rotate the mirror so the view centers on where vehicles would be behind you, not directly behind your rear wheel. Many riders aim too far “in,” then see their torso and the road edge.
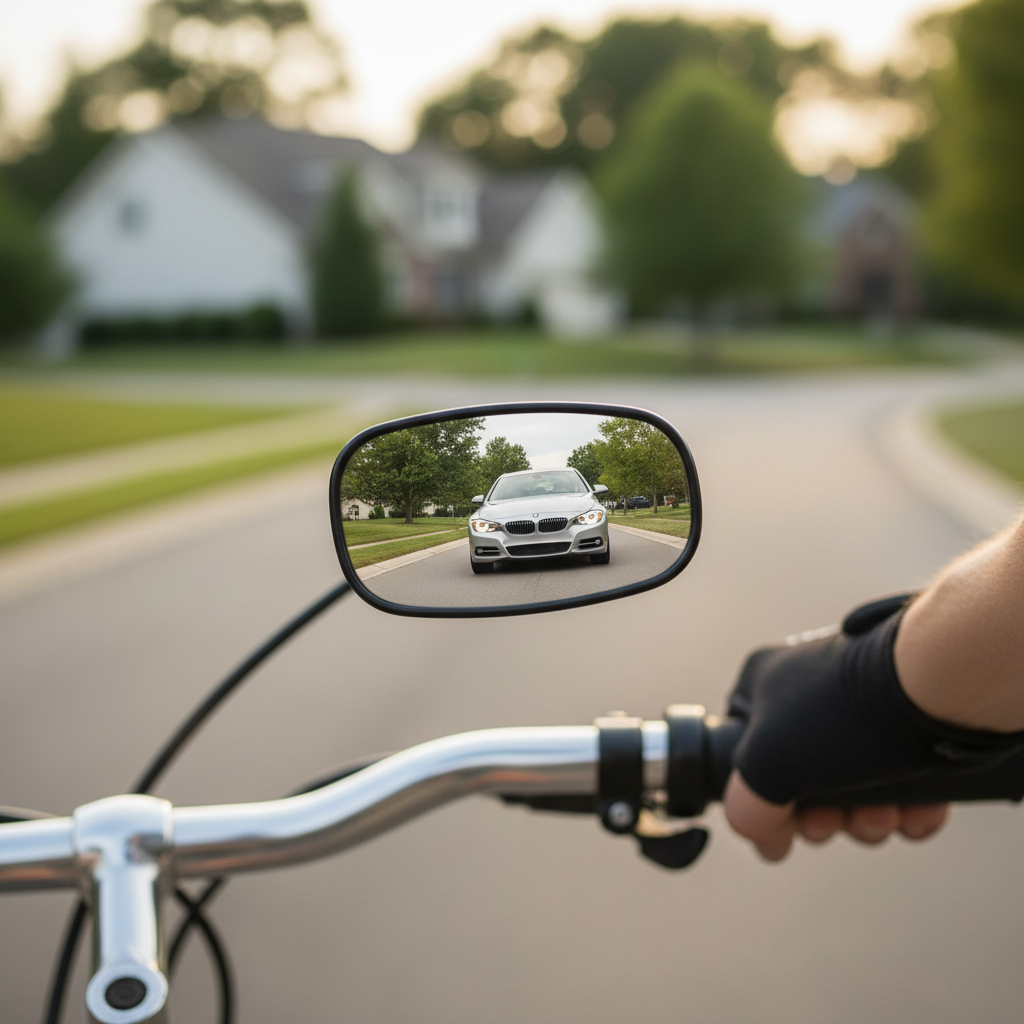
Step 3: Set vertical aim for distance and context
Tilt slightly upward until you can see far enough back to spot a car early, but not so high that the horizon dominates and the near lane disappears. If your mirror shows mostly sky, you’ve overshot.
Step 4: Leave a reference strip of shoulder or elbow
A small reference (often 5–15% of the mirror) helps your brain track where “behind” is without overthinking it. If your whole arm fills the mirror, pull the mirror outward or rotate it away from you.
Step 5: Micro-adjust on a short roll
Roll 50–100 feet and check again. Road vibration, your breathing, and your natural steering inputs can change what you see. This is the part that makes the adjustment stick.
A quick visibility checklist (use it like a self-test)
After adjusting, use this checklist to confirm you’re getting useful information, not just a “mirror picture.”
- Can you see a car behind you before it feels close? You want early notice, not a last-second surprise.
- Do you see the space where a vehicle would pass? The mirror should cover the approach line, not just the center of your lane.
- Do you avoid constant head tilts to “find” the image? If you keep hunting, the mirror is too far out of your natural glance zone.
- Do you still look back before moving laterally? If you’re relying only on the mirror, build that habit back in.
If you fail two or more items, re-run the angle sequence and consider repositioning the mount, not just twisting the mirror head.
Common problems and fixes (the stuff that actually ruins mirrors)
Mirrors get blamed for a lot, but a few repeat issues cause most “this mirror is useless” moments.
Problem: “All I see is my arm”
- Move the mirror outward (bar-end: extend slightly; clamp: slide closer to bar end).
- Rotate the mirror away from your body, then re-center on the lane behind.
- Check if your riding posture is more upright than when you adjusted.
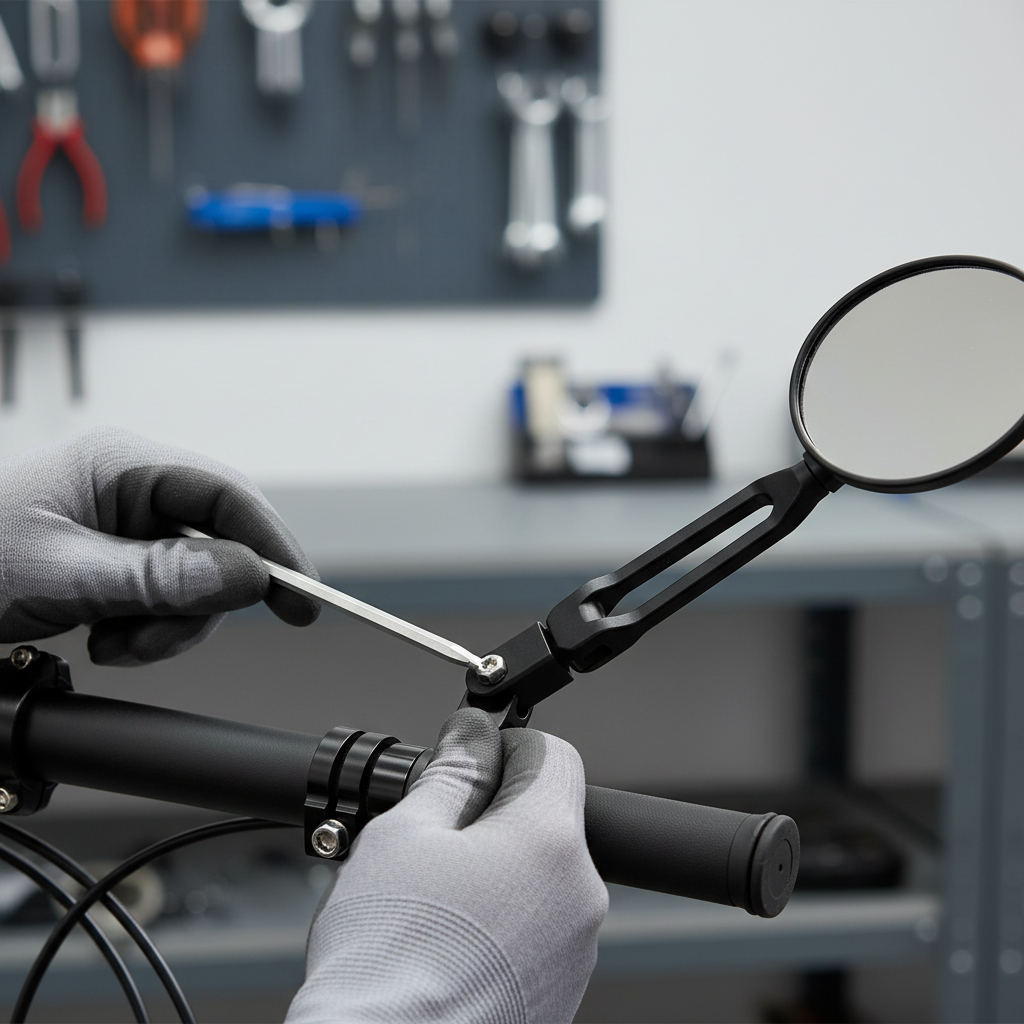
Problem: Vibration makes everything blurry
- Tighten the mount to manufacturer guidance, but avoid stripping bolts.
- Shorten the mirror arm if it telescopes; less leverage usually means less shake.
- Inspect bar tape/grip seating, loose grips can amplify vibration into the mirror.
Problem: Mirror slowly droops during the ride
- Clean contact points, sweat and dust can reduce friction.
- Use a mild threadlocker if the brand allows it, and if you’re comfortable doing so.
- Replace worn washers or friction pads, many mirrors rely on these to hold angle.
Problem: Night glare or harsh reflections
- Angle slightly downward to reduce headlight flare, then re-check distance view.
- Keep the mirror clean, oily film makes glare worse.
- If glare stays severe, a different mirror shape or placement sometimes helps more than endless re-aiming.
Recommended mirror angles by riding style (use as a starting point)
This table won’t replace real-world tuning, but it helps you avoid extremes when you’re setting up for the first time.
| Riding situation | What you should see most | Typical adjustment cue |
|---|---|---|
| City commuting | Lane behind + passing space | More outward angle, small shoulder reference |
| Road cycling (drops/hoods) | Farther traffic approach | Slightly higher tilt, re-check for arm blocking on hoods |
| Shared paths / mixed use | Closer overtakes | More downward tilt for near-field awareness |
| E-bike / higher cruising speed | Early detection behind | Wider rear view, stable mount to control vibration |
Practical setup tips that make the adjustment “stay adjusted”
Once you’ve nailed how to adjust a bike mirror for visibility, keeping it consistent is the real win, especially if you move the bike around in tight storage.
- Mark your “home” angle with a tiny paint pen dot on the joint, so you can reset quickly after a bump.
- Do a 5-second glance test every ride: if your first glance shows elbow only, fix it before you roll into traffic.
- Match mirror to your dominant glance: many riders prefer left-side mirrors in the US for traffic awareness, but personal comfort matters.
- Pair with a shoulder check: mirrors help you monitor flow, head checks confirm exact position before a lane change.
If you’re changing your stem height, handlebar sweep, or saddle position, expect to re-tune the mirror, the geometry shifts more than people think.
Safety notes and when to get help
Mirrors reduce surprises, but they don’t remove blind spots entirely. It’s still smart to practice looking back smoothly in a low-traffic area, especially if you feel wobbly when turning your head.
- If you can’t hold a line while doing a shoulder check, a local bike shop or skills clinic can help you build that control safely.
- If your mirror mount keeps slipping despite proper tightening, the hardware may be incompatible with your bar diameter or grip style.
- If you ride in heavy traffic and feel unsure, consider a professional fit, small posture changes can improve both comfort and mirror usefulness.
According to IIHS, visibility and situational awareness are key factors in avoiding conflicts on the road, and for cyclists a well-adjusted mirror is one practical tool in that bigger system.
Key takeaways (save this)
- Adjust while seated in your real riding posture, not while standing next to the bike.
- Aim for mostly lane behind, with only a thin shoulder/elbow reference.
- Fix vibration and slipping at the mount first, angle tweaks won’t solve loose hardware.
- Use the mirror for monitoring, then shoulder check before moving laterally.
Conclusion: make the mirror useful, not just present
When a mirror feels “bad,” it’s often just aimed for the driveway instead of your real riding posture and real traffic approach angles. Spend a few minutes dialing it in, then confirm with a short roll and the visibility checklist, your mirror should turn into a quick, calm glance instead of a distraction.
If you want a simple next step, do this on your next ride: adjust for a thin shoulder reference, then test whether you can spot an approaching vehicle early without hunting for the image.
FAQ
- Where should a bike mirror be positioned for the best rear view?
Most riders get the cleanest rear view with a mirror near the bar end, angled outward enough to reduce arm blocking, then fine-tuned while seated. - Should I see my shoulder in my bike mirror?
Yes, a small slice can help orientation, but if it dominates the mirror you’re giving up useful rear coverage and should angle outward. - How do I stop my bike mirror from vibrating?
Start by tightening the mount correctly, then shorten any extended arm and check grips or bar tape for looseness that transmits vibration. - Is a helmet mirror better than a handlebar mirror?
It depends on comfort and riding style. Helmet mirrors can track with your head and cover more angles, but they take practice and can feel sensitive. - How often should I readjust my bike mirror?
If your bike gets bumped in storage, you change your posture, or you notice you’re “hunting” for the view, it’s worth a quick reset before the ride. - Can I rely on my bike mirror instead of looking back?
Usually no, mirrors help monitor traffic flow but may not show every blind spot, so a shoulder check remains a safer habit before changing position.
If you’re setting up a new commuter bike, adding mirrors to an e-bike, or just tired of guessing at angles, a quick check by a local bike shop can save time, they’ll often spot mounting or fit issues that make mirror visibility harder than it needs to be.