Skateboarding Skills get a lot easier to build when you treat progress like a system: the right setup, a few repeatable drills, and safety habits you do every session.
If you feel stuck, you’re not alone. Many beginners practice the hardest tricks too early, or they ride on gear that fights them, then wonder why everything feels sketchy.
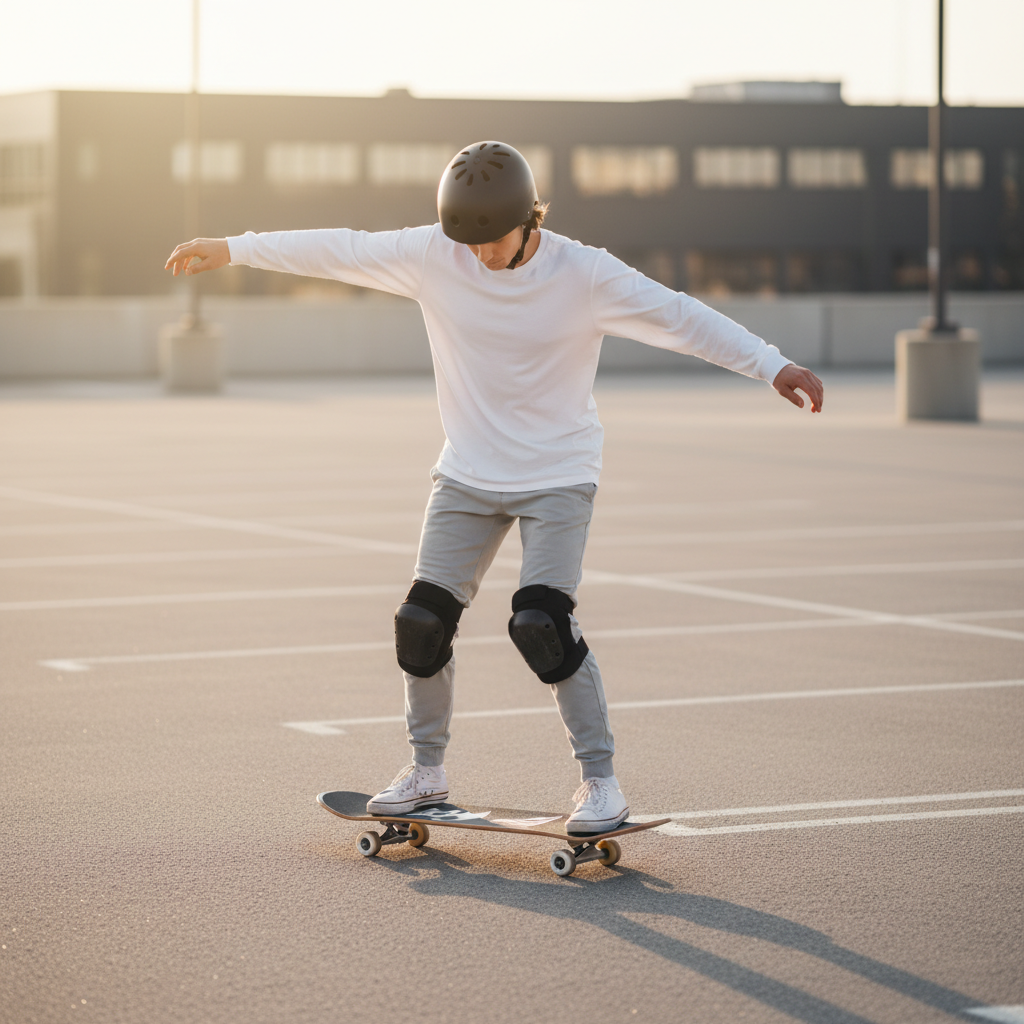
This guide focuses on the stuff that actually moves the needle: foundational control, falling safely, and a simple progression path. You’ll also get a quick self-check, a drill plan, and a safety table you can keep on your phone.
Start with the basics that make everything else easier
Before you chase an ollie, you want the board to feel like an extension of your body. When your stance and push are shaky, every trick turns into a coin flip.
Stance, foot placement, and where your weight should live
Your stance is usually either regular (left foot forward) or goofy (right foot forward). Pick the one that feels stable, then build habits around it.
- Front foot: angled slightly forward, near the front bolts when cruising, closer to the middle when you prepare to turn or stop.
- Back foot: on the tail pocket, not hanging off the edge, so you can lift the front wheels or stop quickly.
- Weight: centered over the deck, knees soft, shoulders roughly aligned with the board.
Small cue that helps: if your legs feel stiff, your balance will feel loud. Bend your knees until the pavement noise feels quieter.
Gear setup and protective equipment that actually matter
People love debating setups, but for learning Skateboarding Skills, you mainly need a board that rolls smoothly and turns predictably, plus protection you will wear consistently.
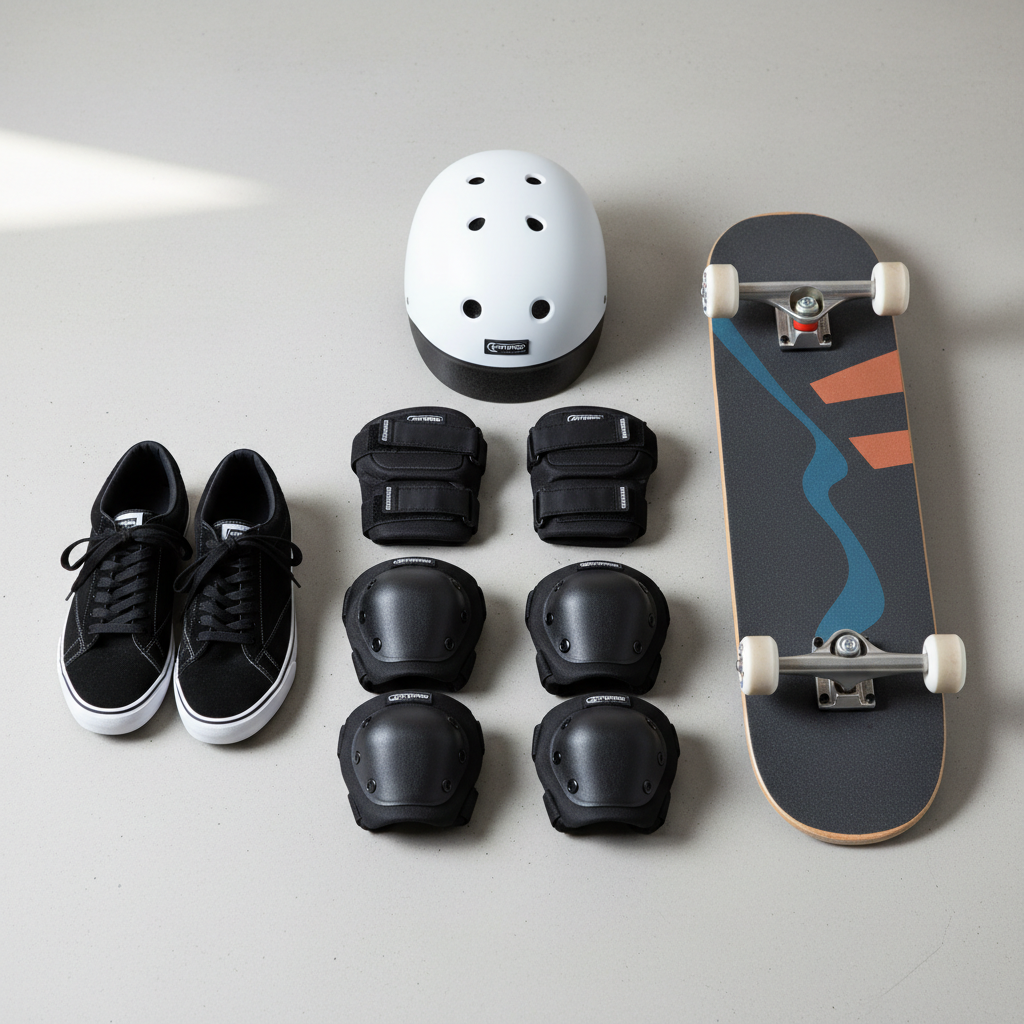
Setup checkpoints (simple, not obsessive)
- Wheels: softer wheels (often around 78A–87A) feel smoother on rough streets; harder wheels (often 95A–101A) slide easier at parks.
- Trucks: too loose feels wobbly; too tight makes turning feel jerky. Adjust until you can carve without speed wobbles.
- Bearings: if one wheel stops quickly or sounds gritty, clean or replace. A slow roll makes learning unnecessarily hard.
- Shoes: flat soles, good board feel, and enough padding that you don’t dread each landing.
Safety gear: what protects what
According to the Centers for Disease Control and Prevention (CDC), wearing a helmet helps reduce risk of serious head injuries during activities like skating. A helmet won’t make you invincible, but it can change the consequences of one bad slam.
| Gear | Best for | When to prioritize |
|---|---|---|
| Helmet | Head impact protection | Always, especially learning ramps, bowls, or higher speed |
| Wrist guards | Reducing wrist sprains from catching yourself | Early stages, learning to fall, practicing shove-its |
| Knee pads | Knee impact + controlled knee slides | Transition skating, mini ramps, drop-ins |
| Elbow pads | Elbow impact protection | Bowls, learning new terrain, any time you’re bailing often |
A quick self-check: what’s holding you back?
This part saves time. Most plateaus come from one weak link, not from “not being talented.”
- If pushing feels scary: your front foot may be too far forward, or you’re looking down instead of ahead.
- If you wobble at speed: knees might be too straight, trucks could be too loose, or you’re leaning from the waist instead of the ankles.
- If you can’t turn cleanly: shoulders and hips may not be rotating with the carve.
- If you bail every attempt: you might be practicing on a surface that’s too fast, too rough, or too crowded.
- If you land tricks but roll away messy: you likely need more rolling practice, not more trick attempts.
Be honest with this list. Skateboarding Skills grow faster when you practice the boring parts on purpose.
Core drills that build real control (not just trick attempts)
Think of these as your “minimum viable session.” Even 20–30 minutes of these drills a few times a week makes a difference.
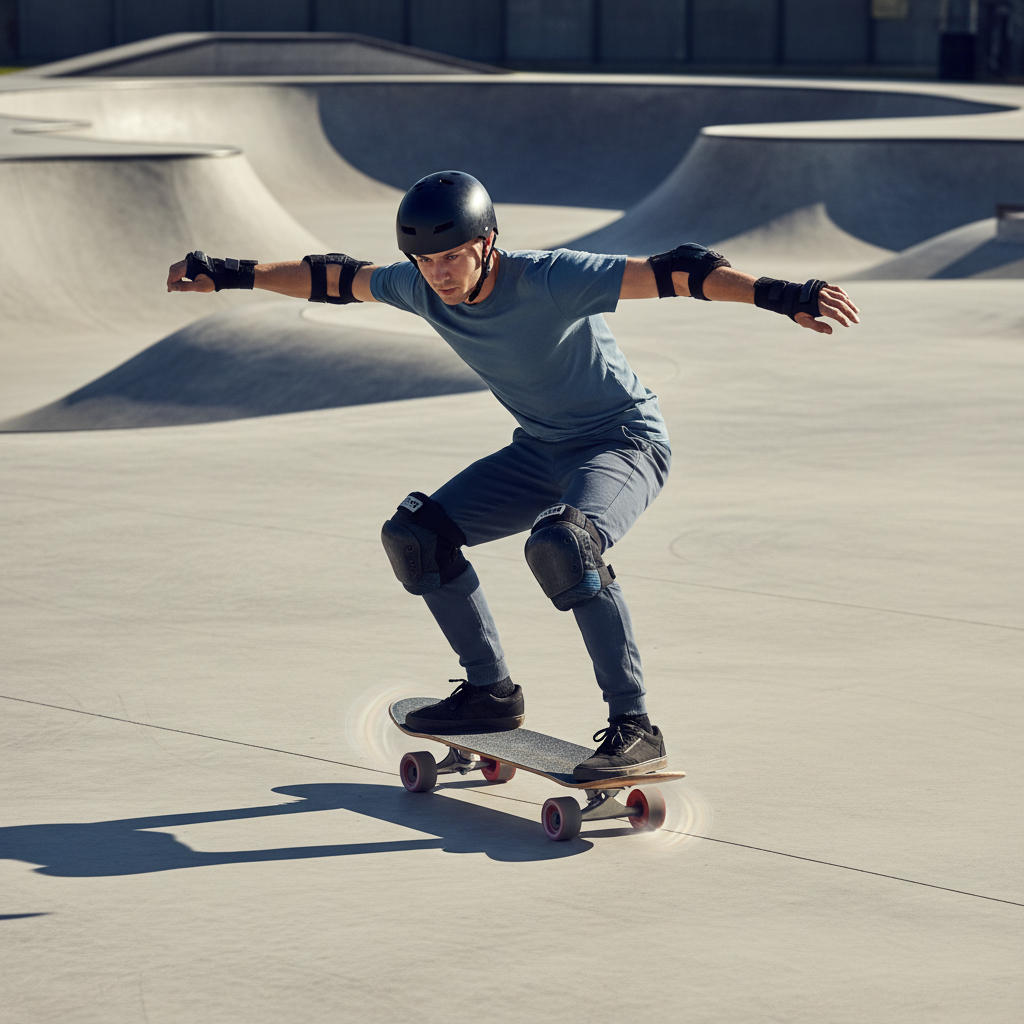
Drill set A: balance and rolling comfort
- One-foot glide: push once, then glide with your pushing foot hovering an inch above the ground for 2–3 seconds.
- Quiet knees: roll and focus on absorbing cracks by bending, not by stiffening.
- Line riding: pick a painted line and keep the board tracking it for 20–30 feet.
Drill set B: turning and speed control
- Wide carves: gentle S-turns, shoulders leading, eyes up. No snapping.
- Foot brake: light sole drag, keep weight on the front foot. If you stomp, you’ll get yanked backward.
- Kick turn on flat: tiny tail press, rotate shoulders first, then board follows.
Drill set C: pop prep (without forcing an ollie)
- Tail taps: stationary, tap the tail and feel the rebound, keep shoulders stacked over the deck.
- Hippy jumps: rolling slowly, jump straight up and land back on bolts, teaches commitment safely.
If you only do one thing, do hippy jumps. They quietly fix a lot of “I’m scared to land on it” problems.
Safety habits that prevent injuries and speed up learning
Most skating injuries happen during simple moments: fatigue, distraction, or rushing. You don’t need to skate timid, you need to skate with a plan.
Warm-up and session structure
- 2–5 minutes: light rolling, carves, foot braking practice.
- Skill block: one focus (example: stopping + kick turns), set a small target and repeat.
- New stuff: try the harder thing when you still have energy and attention.
- Cool down: easy laps so you don’t end on a panic bail.
Learn to fall in a way your body can tolerate
According to the American Academy of Pediatrics (AAP), protective equipment and supervised practice can help reduce injury risk for kids and teens. Adults benefit from the same logic, even if no one wants to admit it.
- Don’t lock your arms: catching yourself with straight arms can stress wrists and elbows.
- Try to roll: turning a hard impact into a rolling motion often reduces force, though it takes practice.
- Bail early: if the board shoots out, stepping off early is usually safer than fighting it.
If you have a prior injury or joint instability, it may be worth asking a physical therapist or sports medicine professional what to avoid while you ramp up.
A practical progression path (beginner to intermediate)
This is a realistic order that works for many skaters. You can swap steps depending on where you ride, but the idea stays the same: control first, airtime later.
- Phase 1: push, stop, carve, small kick turns, ride off small curbs.
- Phase 2: manuals practice, hippy jumps, tic-tacs, riding fakie comfortably.
- Phase 3: ollie mechanics, shove-it mechanics, rolling ollies, small obstacles.
- Phase 4: ramps and transition basics, controlled drop-ins with coaching if possible.
The goal is not to rush phases. Skateboarding Skills stack, and the stack collapses when you skip stability.
Common mistakes that waste time (and how to fix them)
These show up constantly, even in skaters who practice a lot.
- Practicing only stationary tricks: do some stationary work, sure, but add rolling reps early or tricks won’t transfer.
- Looking down the whole time: quick glances are fine, living there kills balance and reaction time.
- Changing setup every week: small adjustments help, constant changes reset your feel.
- Skating to exhaustion: fatigue turns clean falls into awkward falls. End while you can still make good choices.
- Comparing your timeline: different terrain, different bodies, different comfort with risk. Comparison just adds pressure.
Key takeaway: if you want faster progress, reduce chaos. Same spot, same drills, small upgrades.
Conclusion: progress comes from consistency, not courage
Skateboarding Skills improve when you build control on flatground, use safety gear you’ll actually keep on, and practice a few high-value drills that translate everywhere.
If you’re unsure what to do next, pick one control drill and one safety habit for your next three sessions, then reassess. That alone usually makes skating feel calmer, and calmer sessions tend to produce better landings.
If you want, tell me where you skate most (street, parking lot, park, ramps) and what you’re trying to learn next, and I can suggest a tighter 2-week practice plan.