
Best cycling shoe covers for winter are the ones that match your real ride: your temperature range, how wet it gets, and whether you’re on road, gravel, or commuting.
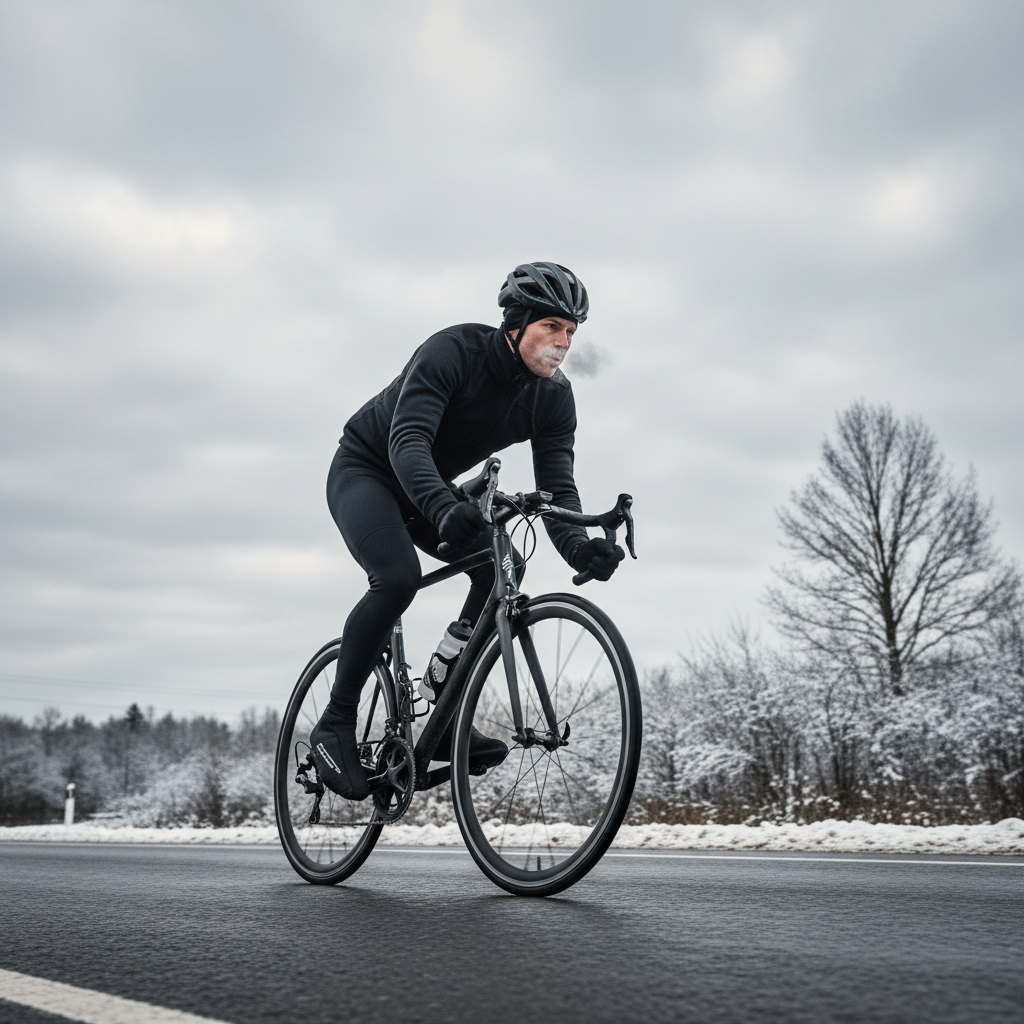
If you’ve ever turned around early because your feet went numb, you already know shoe covers aren’t a “nice to have.” They’re often the difference between finishing steady and suffering through the last hour with frozen toes.
This guide helps you pick the right type, avoid common sizing mistakes, and build a simple layering plan that works in most U.S. winter conditions, from dry cold to sloppy freezing rain.
Key takeaways (read this if you’re in a rush)
- Match covers to conditions: windproof for dry cold, neoprene for wet cold, “deep winter” for sub-freezing plus wind.
- Fit beats thickness: gaps at the ankle or cleat opening leak cold air fast.
- Cleat/sole compatibility matters: road (3-bolt) vs MTB/gravel (2-bolt) changes durability and walking comfort.
- Wet management is the real game: in slush, you’re often choosing “warmer when wet,” not “fully waterproof.”
Why feet get cold on the bike (and why covers work)
Feet run cold on bikes for boring reasons, not because you’re “bad at winter.” Wind strips heat, road spray soaks insulation, and tight shoes reduce circulation.
Most shoe covers help in three ways: they block wind, slow evaporative cooling when things get damp, and add a small insulating air layer. If your winter rides include lots of stoplights or café stops, that wind-blocking layer becomes even more important, because your feet cool down quickly when you’re not pushing power.
According to NOAA, wind chill can make the air feel significantly colder than the thermometer shows, which lines up with why a “barely below 40°F” ride can still sting once you’re moving.
Types of winter cycling shoe covers (what to choose, realistically)
Windproof toe caps (a.k.a. “toe covers”)
These are minimal, usually neoprene or softshell, and they cover just the front of the shoe. Great when it’s cool but not miserable.
- Best for: 45–60°F and dry roads, high-output riding
- Pros: easy on/off, packable, less sweaty
- Cons: ankles and uppers still leak cold air
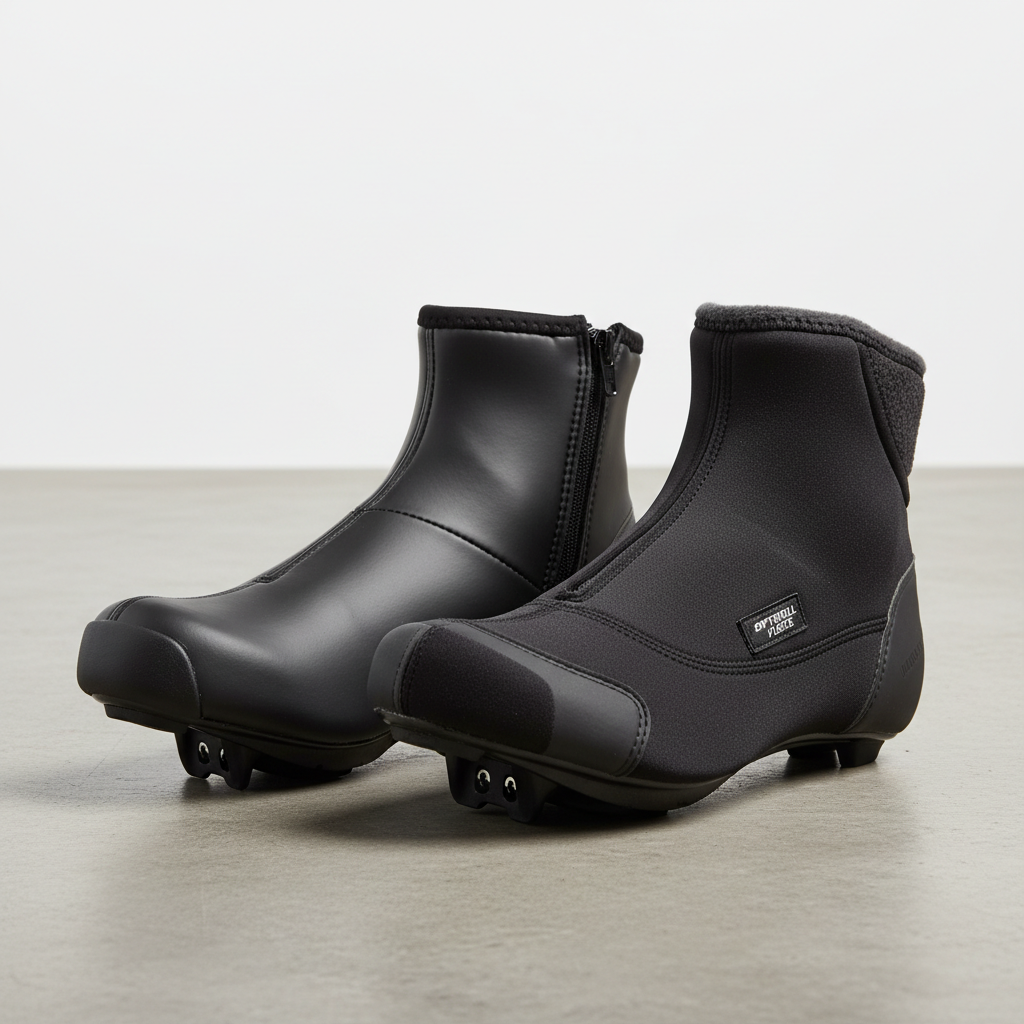
Neoprene booties
Neoprene is the classic choice for wet cold. It doesn’t “breathe” much, but it stays relatively warm even when it’s damp.
- Best for: 35–50°F with rain, road spray, puddles
- Pros: solid warmth per dollar, decent splash protection
- Cons: can feel clammy, zipper durability varies
Softshell / fleece-lined booties
Often warmer-feeling and more breathable than neoprene, these shine in dry cold and windy conditions.
- Best for: 25–45°F when roads are mostly dry
- Pros: comfort, less sweat buildup, good wind blocking
- Cons: “water resistant,” not truly waterproof in heavy rain
Deep-winter covers (insulated, tall cuff, storm flaps)
This category targets true winter rides: taller cuffs, heavier insulation, more robust outer fabric, sometimes reflective panels.
- Best for: below ~32°F, longer rides, strong winds
- Pros: maximum warmth, better ankle sealing
- Cons: bulkier, harder to fit over some shoes, can overheat on climbs
Commuter overshoes (full-height, walk-friendly)
If you walk more than you ride, look for reinforced soles and easier entry. They’re less “race fit,” more practical.
- Best for: errands, transit, office commutes
- Pros: durability for walking, often more reflective
- Cons: heavier, can flap at speed if fit is loose
Quick chooser: temperature, rain, and riding style
Use this as a starting point, then adjust for your circulation and typical speed. Many riders run one category warmer or colder than their friends, that’s normal.
| Conditions | Good cover type | What to prioritize |
|---|---|---|
| 45–60°F, dry | Toe caps | Wind blocking, easy packability |
| 35–50°F, wet roads | Neoprene booties | Sealed seams, snug ankle, durable sole cutout |
| 25–45°F, dry/windy | Softshell/fleece-lined | Ankle seal, breathability, windproof panels |
| <32°F, long rides | Deep-winter covers | Insulation, tall cuff, storm flap over zipper |
| Mixed ride + walking | Commuter overshoes | Walkable sole, abrasion resistance |
Fit and compatibility: the stuff that quietly makes or breaks warmth
You can buy the warmest cover on paper and still freeze if the fit leaves air gaps. Cold air finds the ankle opening, the zipper line, and the cleat cutout.
Road vs MTB/gravel cleats
- Road (3-bolt): larger cleat opening, less walking; many “race” covers assume this.
- MTB/gravel (2-bolt): more walking, more abrasion; look for reinforced panels and a cut designed for treaded soles.
Sizing checklist (fast self-test)
- If you’re between sizes, many brands fit better one size up for winter socks, but check return policy.
- The cover should feel snug over the toe box with no loose folds catching wind.
- The ankle cuff should sit flat under tights; if it wrinkles, wind sneaks in.
- When clipped in, the cleat opening should not pull so hard it stresses seams.
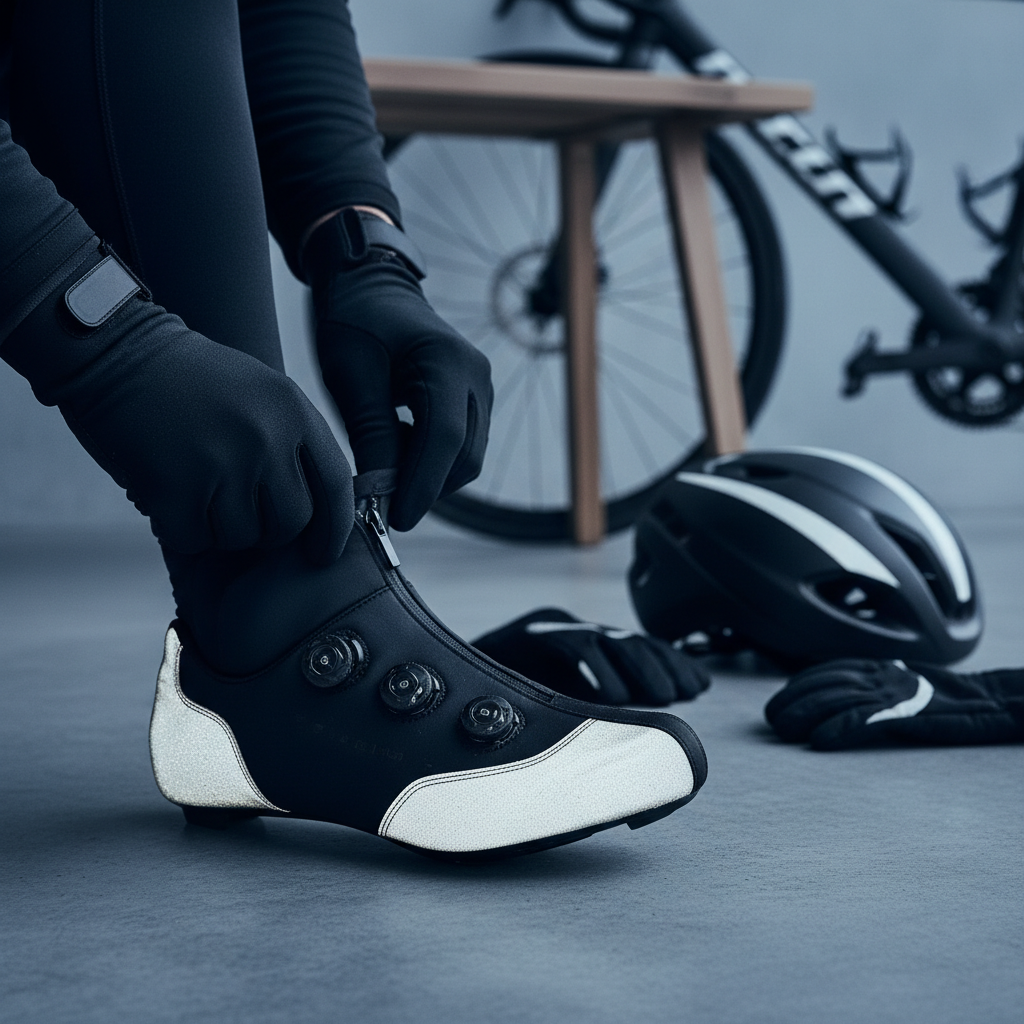
Zippers, velcro, and “no-zip” designs
Zippers are convenient, but they’re a weak spot for water and can fail if you stretch them over bulky shoes. No-zip covers can seal better, but you’ll wrestle them on. If your hands go numb easily, that tradeoff matters more than you’d think.
How to stay warm without overbuying: a practical setup
For most U.S. riders, the “best cycling shoe covers for winter” end up being a two-piece plan: one lighter option for shoulder-season rides, one true winter option for cold snaps.
Step-by-step layering that works
- Start with socks: midweight merino or a synthetic winter cycling sock, avoid doubling thick socks inside a tight shoe because circulation drops.
- Seal the shoe vents: a small strip of tape inside the shoe, or a purpose-made insole, can reduce wind through the sole on very cold days.
- Add covers that match moisture: neoprene for wet, softshell for dry and windy.
- Fix the ankle gap: tall cuffs or pulling tights over the cuff usually helps more than adding another sock.
When a winter shoe might beat any cover
If you ride below freezing regularly, or you do 2–4 hour rides through wind and spray, insulated winter cycling shoes can be simpler and often warmer. Shoe covers still help, but they become a backup plan rather than the main defense.
Common mistakes that make winter shoe covers disappointing
- Buying “waterproof” expecting dry feet in slush: in real conditions, water finds its way in from the ankle or running down tights.
- Ignoring sweat: overdressing feet can leave them damp, then you get cold on descents.
- Too-tight shoes: riders blame the cover, but it’s often restricted blood flow.
- Choosing the wrong sole design: MTB riders shred lightweight road covers quickly when walking on gravel or concrete.
According to NHTSA, visibility is a major safety factor on roads, and winter days are shorter; reflective details on booties won’t replace lights, but they can help you get noticed in traffic.
When to get extra help (or rethink your setup)
If your toes go numb quickly even with warm covers and reasonable socks, don’t just keep buying thicker gear. It may point to fit, circulation, or a medical issue.
- Frequent numbness, color changes, or pain in cold can be worth discussing with a clinician, especially if it happens off the bike too.
- If you have diabetes, circulation concerns, or nerve issues, a bike shop fit or medical guidance can be a safer route than trial-and-error.
- Persistent heel lift or tight toe box often means your shoe size/shape needs attention before any cover will feel “warm.”
Conclusion: picking the “best” cover is really picking your conditions
The best cycling shoe covers for winter usually come down to two decisions: how wet your rides get, and how well you can seal the ankle and cleat area. Get those right and you’ll feel the difference immediately, even before you chase premium materials.
If you want a simple next step, choose one cover for your most common winter condition, then do one test ride and adjust socks and fit before buying anything else.
If you’re building a kit from scratch, a lot of riders do well with neoprene booties for wet days plus a softshell option for dry cold, and they stop thinking about their feet for the rest of the season.