
Best cycling multi tool for travel picks usually come down to one thing: what you can realistically fix away from home, with what you’re willing to carry. A tool can be tiny and sleek, but if it skips the one bit your bike uses, it turns into dead weight the first time a bolt backs out.
Travel riding adds a few twists, you might be far from your own workshop, you may not have a torque wrench, and you’re often trying to keep luggage minimal while still avoiding a trip-ending mechanical.
This guide stays practical: what features matter in 2026, how to match a tool to your drivetrain and cockpit, and how to avoid the common “I bought the popular one but it doesn’t fit my bike” problem. I’ll also include a short packing plan, because the multi-tool is only one piece of the travel repair puzzle.
What “travel-ready” really means for a cycling multi-tool
A good shop multi-tool and the best cycling multi tool for travel are not always the same product. Travel favors coverage and reliability over fancy extras, and it favors designs that are easy to use when your hands are cold or you’re working in a hotel parking lot.
- Bike-specific fit: Hex sizes, Torx sizes, and whether you need a chain tool or quick-link pliers depends on your exact build.
- Usable leverage: Some ultra-compact tools look great but can be painful to turn with real torque.
- Corrosion resistance: Bags get wet, humid, and grimy; better steels and decent plating matter.
- Packability: Slim profiles, no sharp edges, and a case or tight retention so bits don’t rattle loose.
According to Park Tool (their repair guidance and tool education materials), correct tool selection depends on the fastener type and size on the bike, and improper fit can damage bolts. In travel terms, that means your “best” tool is the one that actually matches your hardware.
Quick checklist: confirm what your bike actually needs
Before comparing products, take three minutes with your bike and a note app. This step feels boring, but it prevents 90% of wrong buys.
Minimum fasteners to verify
- Stem and handlebar: commonly 4mm/5mm hex, sometimes Torx (often T25).
- Seatpost clamp: commonly 4mm/5mm/6mm hex.
- Brake calipers/rotors: many rotors use T25, some calipers use 5mm.
- Derailleur adjustments: usually 2mm/2.5mm/3mm hex plus a Phillips or flathead for limit screws depending on model.
- Cleats: many road and MTB cleats use 4mm, some use 3mm.
Drivetrain reality check
- If you run 12-speed, you may care more about a clean chain fix (quick links and chain tool compatibility).
- If you ride gravel/touring, you may value a sturdier chain tool and a better tire plug tool.
- If you’re on internal routing and integrated cockpits, you may need specific Torx sizes and patience, and you may decide some jobs are “shop-only” while traveling.
Best Cycling Multi Tool 2026: what to look for (and what to skip)
In 2026 most quality multi-tools are “good enough” on materials, the difference shows up in bit selection, chain tool quality, and how annoying it is to use. If you’ve ever rounded a small bolt because the tool flexed, you already know why that matters.
Features that usually earn their keep
- Hex range that matches modern bikes: 2mm through 8mm covers most travel fixes.
- T25 Torx: common for rotors and some cockpit hardware.
- Chain tool: not mandatory for every rider, but a trip-saver when you need it.
- Replaceable bits: helps long-term, and lets you customize for your exact bike.
- Bit retention: tools that keep bits tight don’t slowly self-disassemble in your bag.
Features that sound useful, but often disappoint on trips
- Tiny spoke wrenches: they can work, but real wheel issues often need more than a micro-tool can provide.
- Mini “open” wrenches: usually too small to be effective, and can round nuts.
- Ultra-thin tire levers built in: sometimes okay, sometimes bendy, and hard on hands.
If your goal is the best cycling multi tool for travel, prioritize the fasteners that end rides: loose stem bolts, slipping seatpost, rotor rub, chain problems, and tubeless punctures.
Comparison table: choose your travel multi-tool by scenario
This table is intentionally scenario-based. You don’t need the “most tools”, you need the right coverage for where you’re going and how self-sufficient you want to be.
| Travel scenario | Tool size goal | Must-have bits/functions | Nice-to-have | Common mistake |
|---|---|---|---|---|
| Business trip rides, urban routes | Ultra-compact | 4/5/6mm hex, T25, Phillips | Quick-link holder | Skipping T25, then rotor bolts become a problem |
| Weekend gravel travel | Compact but grippy | 2–8mm hex, T25, chain tool | Tire plug tool, bit extender | Choosing a tool with a weak chain breaker |
| Bikepacking, remote roads | Mid-size | 2–8mm hex, T25, chain tool, flat/Phillips | Quick-link pliers, spare bits | Thinking one tool replaces proper tire repair supplies |
| Group trip with support car | Small | 4/5/6mm hex, T25 | Valve core tool | Overpacking heavy tools you never touch |
How to pick the best cycling multi tool for travel in 10 minutes
If you want a fast method that still feels “editor-approved”, use this quick process and don’t overthink it.
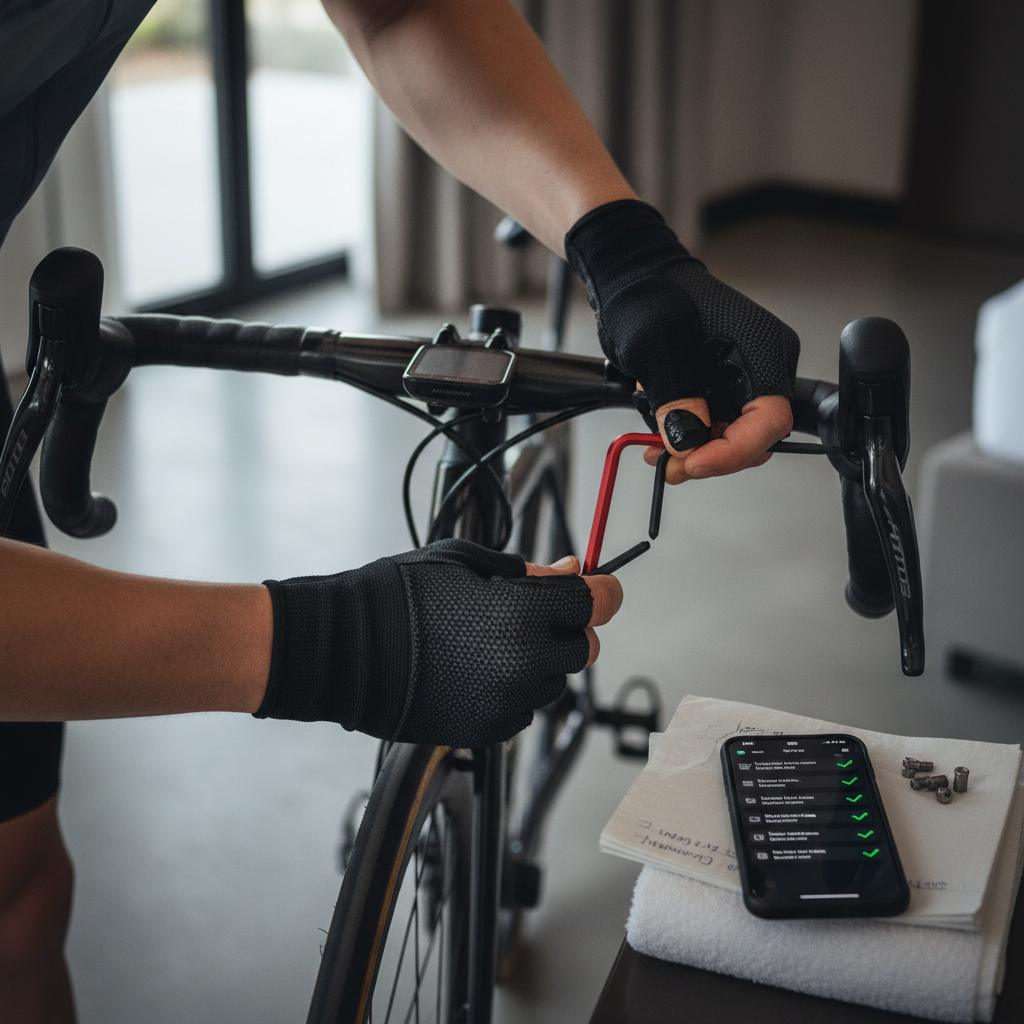
- Step 1: Match your bolts. Confirm your bike uses hex, Torx, or a mix, and which sizes.
- Step 2: Decide your chain plan. If you carry a quick link, a chain tool becomes much more valuable.
- Step 3: Think about gloves and fatigue. A slightly larger tool that feels good in hand often beats a tiny one you hate using.
- Step 4: Prioritize retention. Loose bits in a saddle bag are a quiet kind of misery.
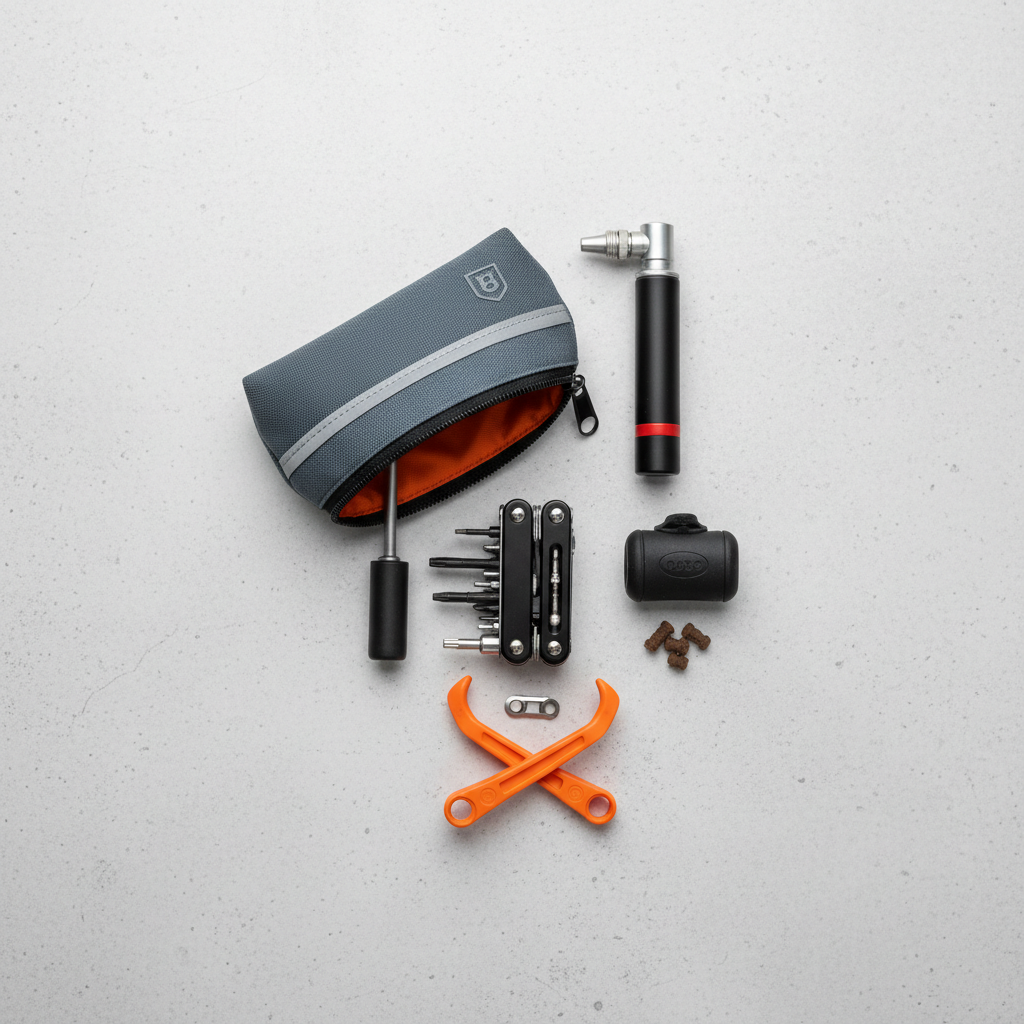
- Step 5: Keep the kit coherent. Multi-tool + inflation + puncture repair should work together, not as random pieces.
According to REI (their bike repair and flat-fix education resources), being prepared for common roadside issues usually means carrying the basics for adjustments and flats. A multi-tool alone doesn’t solve flats, it just helps you access what you need to fix them.
Practical travel kit: what to pair with your multi-tool
People blame the multi-tool when the real issue is an incomplete kit. For travel, I like thinking in “problems”, not “products”.
Problem: flat tire
- Tube riders: spare tube, tire levers, patch kit, inflation
- Tubeless riders: plug kit, sealant top-up plan, inflation, optional tube as bailout
- Don’t forget: valve core tool can help, but only if you actually know how your valves behave
Problem: chain issue
- Spare quick link that matches your speed count
- Chain tool you trust, either in the multi-tool or separate
Problem: bolts loosening mid-ride
- Multi-tool with the right sizes
- If you’re sensitive to carbon parts: consider a small preset torque tool for travel, or tighten cautiously and get a shop check
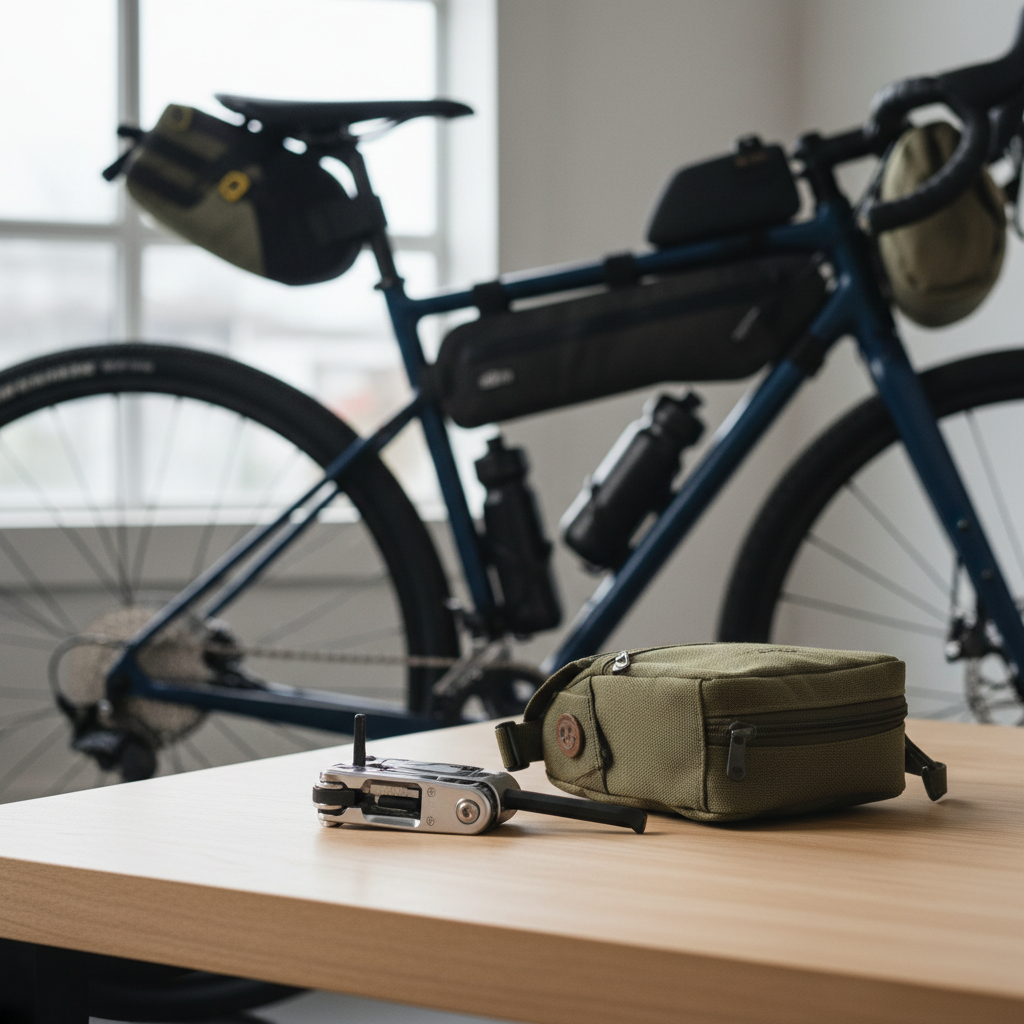
For a lot of riders, the best cycling multi tool for travel is the one that lives in a small pouch with a quick link and a plug kit, so nothing gets forgotten when you swap bags.
Common mistakes that make a “good” tool fail on the road
This is where most frustration comes from, not from the brand name.
- Buying by tool count: 20 functions look impressive, but you needed T25 and a real 5mm with leverage.
- Ignoring bit access: some tools bury the one bit you need against the frame of the tool, so you can’t turn it in tight spots.
- Over-torquing: especially on carbon components, “snug” is not a number. If you’re unsure, tighten gently and get it checked.
- Assuming all chain tools are equal: alignment and handle comfort matter, and cheap chain breakers can be finicky.
- No practice: the first time using a chain tool shouldn’t be during a windy roadside moment.
On safety: if you suspect a crack in a carbon bar, steerer, or frame after a crash, it’s usually safer to stop riding and consult a qualified mechanic. A multi-tool can help you limp back, but it can’t confirm structural integrity.
Key takeaways and a simple recommendation mindset
Here’s the calm way to land on a choice without reading 40 product pages: match your bike’s fasteners, carry a chain plan if you ride far from help, and pick a tool size you’ll actually bring every time.
- Prioritize fit: hex sizes and T25 beat extra gimmicks.
- Prioritize usability: leverage and bit access matter more than a slim silhouette.
- Build a kit: multi-tool + flat repair + inflation is the travel baseline.
- Practice once: a five-minute dry run at home reduces stress on the trip.
If you’re choosing one “default” setup, a compact tool with 2–8mm hex, T25, Phillips/flat, and a dependable chain tool is a strong starting point for many riders, and it tends to be a safe interpretation of best cycling multi tool for travel without going overboard.
Next action: check your bike’s bolt sizes today, then buy the tool that matches that list, not the one with the flashiest feature set. Pack it with your quick link and flat kit, and you’ll feel the difference the first time something rattles loose mid-ride.